View original BBCode
another good post from diymobileaudio.com

[quote=milox]Tuesday, June 19th 2007. T-minus 17 days to the North Georgia Nationals. Lots of work yet to do!

I got home around 6 today and went back at it. Like i promised yesterday... tonight was spent wiring.

Documenting this install has been a lot of fun for me. I love the questions I get whether they are posted in public, or in a PM. Undoubtedly, the most common question I have fielded during this process is "So how exactly did you make your wiring look like that?".

So I decided that when the next opportunity arose to apply solder to copper I would document it for everyone. Hopefully the following will help. It is REALLY easy to do. Just takes a little extra time.

First of all you will need the following-
[IMG]http://web.mac.com/milox/iWeb/Random/2007%20Build%20WWW%20Page%202_files/DSC_3502.jpg[/IMG]
Clockwise from bottom left:[LIST]
[*]Shears
[*]Terminal connectors (If appropriate)
[*]Soldering Iron
[*]Solder (Do yourself a favor and get thin solder... much easier to work with)
[*]Various sizes and colors of heat shrink
[*]Newcastle (Optional)
[*]Hot knife
[*]Techflex
[*]Carpet knife
[*]Strippers and crimpers as appropriate
[*]Wire (I use Tsunami 12 GA from our friends at Elemental Designs)
[*]Labels[/LIST]An enthusiastic helper is optional... but makes life so much more fun:
[IMG]http://web.mac.com/milox/iWeb/Random/2007%20Build%20WWW%20Page%202_files/DSC_3510.jpg[/IMG]

Step 1.
[IMG]http://web.mac.com/milox/iWeb/Random/2007%20Build%20WWW%20Page%202_files/DSC_3507.jpg[/IMG]
Strip the wire.

Step 2.
[IMG]http://web.mac.com/milox/iWeb/Random/2007%20Build%20WWW%20Page%202_files/DSC_3513.jpg[/IMG]
[IMG]http://web.mac.com/milox/iWeb/Random/2007%20Build%20WWW%20Page%202_files/DSC_3520.jpg[/IMG]
Tin the leads as appropriate for your install. These ends are going into terminal blocks. No connectors = Tinned wire!

Step 3.
[IMG]http://web.mac.com/milox/iWeb/Random/2007%20Build%20WWW%20Page%202_files/DSC_3525.jpg[/IMG]
Cut heatshrink to length.

Step 4.
[IMG]http://web.mac.com/milox/iWeb/Random/2007%20Build%20WWW%20Page%202_files/DSC_3527.jpg[/IMG]
Apply heat.

Step 5.
[IMG]http://web.mac.com/milox/iWeb/Random/2007%20Build%20WWW%20Page%202_files/DSC_3529.jpg[/IMG]
Do the other end of the wire. Here you can see that I have soldered the blue wire, and have prepped the silver one.

Step 6.
[IMG]http://web.mac.com/milox/iWeb/Random/2007%20Build%20WWW%20Page%202_files/DSC_3530.jpg[/IMG]
Apply shrink to the other end.

Step 7.
[IMG]http://web.mac.com/milox/iWeb/Random/2007%20Build%20WWW%20Page%202_files/DSC_3533.jpg[/IMG]
Using the hot knife, cut the techflex to length. I like to leave it about a half inch short on both ends.

[/quote]
View original BBCode
.
[quote]Step 8.
[IMG]http://web.mac.com/milox/iWeb/Random/2007%20Build%20WWW%20Page%202_files/DSC_3534.jpg[/IMG]
Tack the flex in place using a short piece of shrink, or electrical tape.

Step 9.
[IMG]http://web.mac.com/milox/iWeb/Random/2007%20Build%20WWW%20Page%202_files/DSC_3536.jpg[/IMG]
Cut two longer pieces of shrink and apply to the cable. I like to leave it about a half inch or 3/4 inch long in order to cover the point where the inner conductors meet the outer sheathing. This allows for the cable to be bent, and still cover the joint.

Step 10.
[IMG]http://web.mac.com/milox/iWeb/Random/2007%20Build%20WWW%20Page%202_files/DSC_3539.jpg[/IMG]
Apply label.

Step 11.
[IMG]http://web.mac.com/milox/iWeb/Random/2007%20Build%20WWW%20Page%202_files/DSC_3542.jpg[/IMG]
Cut the clear shrink to length and apply. I use the clear to protect the labels. If you aren't labeling the cables then you really don't need it. Unless you like the look.

And that, my friends, is that.
[IMG]http://web.mac.com/milox/iWeb/Random/2007%20Build%20WWW%20Page%202_files/DSC_3540.jpg[/IMG]

And here's what they look like attached to the drivers.
[IMG]http://web.mac.com/milox/iWeb/Random/2007%20Build%20WWW%20Page%202_files/DSC_3547.jpg[/IMG]
[IMG]http://web.mac.com/milox/iWeb/Random/2007%20Build%20WWW%20Page%202_files/DSC_3550.jpg[/IMG]
[IMG]http://web.mac.com/milox/iWeb/Random/2007%20Build%20WWW%20Page%202_files/DSC_3554.jpg[/IMG]

Simple, eh?[/quote]
this thread changed my life and was the reason i joined diyma. turned something as simple as wiring into its own project. big plans in the max... getting some practice in on the q.
View original BBCode
this thread changed my life and was the reason i joined diyma. turned something as simple as wiring into its own project. big plans in the max... getting some practice in on the q.
that's clean.

I'm ghetto fab with my wiring. lol
View original BBCode
that's clean.
I'm ghetto fab with my wiring. lol
dRo15;176790 wrote:that's clean.
I'm ghetto fab with my wiring. lol
^^im with stupid
View original BBCode
[QUOTE=dRo15;176790]that's clean.

I'm ghetto fab with my wiring. lol[/QUOTE]

^^im with stupid
View original BBCode
some examples from diyma:

[IMG]http://i94.photobucket.com/albums/l114/audio_fusion_sq/28.jpg[/IMG]

[IMG]http://i94.photobucket.com/albums/l114/audio_fusion_sq/29.jpg[/IMG]

[IMG]http://i94.photobucket.com/albums/l114/audio_fusion_sq/SBN%20build/CIMG1106.jpg[/IMG]

[IMG]http://i94.photobucket.com/albums/l114/audio_fusion_sq/SBN%20build/CIMG1111.jpg[/IMG]

[IMG]http://i94.photobucket.com/albums/l114/audio_fusion_sq/SBN%20build/CIMG1108.jpg[/IMG]
View original BBCode
[IMG]http://i27.photobucket.com/albums/c156/jimbecker/hybrid_build_021808035.jpg[/IMG]
[IMG]http://i27.photobucket.com/albums/c156/jimbecker/hybrid_build_021808038.jpg[/IMG]
[IMG]http://i27.photobucket.com/albums/c156/jimbecker/hybrid_021608011.jpg[/IMG]
[IMG]http://i27.photobucket.com/albums/c156/jimbecker/hybrid_build_021808039.jpg[/IMG]
[IMG]http://i27.photobucket.com/albums/c156/jimbecker/hybrid_021508018.jpg[/IMG]
[IMG]http://i27.photobucket.com/albums/c156/jimbecker/hybrid_021408014.jpg[/IMG]
View original BBCode
[IMG]http://www.talkaudio.co.uk/gallery/data/3151/medium/DSCF0357.JPG[/IMG]
View original BBCode
[IMG]http://www.sidewindercustoms.com/images/audio/audio105.jpg[/IMG]

[IMG]http://www.sidewindercustoms.com/images/audio/audio109.jpg[/IMG]


[IMG]http://www.sidewindercustoms.com/images/audio/audio127.jpg[/IMG]

[IMG]http://www.sidewindercustoms.com/images/audio/audio191.JPG[/IMG]
wrd, keep everything organized.
View original BBCode
wrd, keep everything organized.
that is way too organized lol ...only to be covered by carpet :sad:
View original BBCode
that is way too organized lol ...only to be covered by carpet :sad:
That wiring is insane but VERY PRO. Looks OEM. lol
View original BBCode
That wiring is insane but VERY PRO. Looks OEM. lol
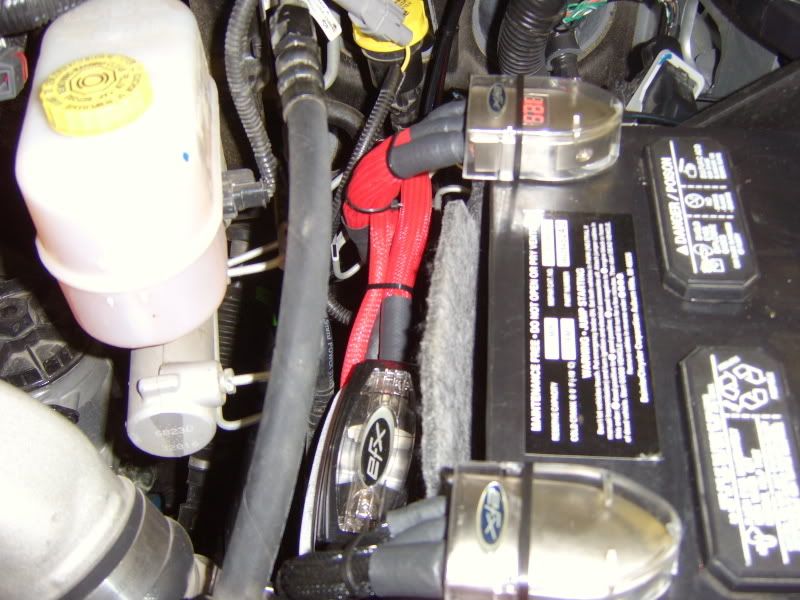
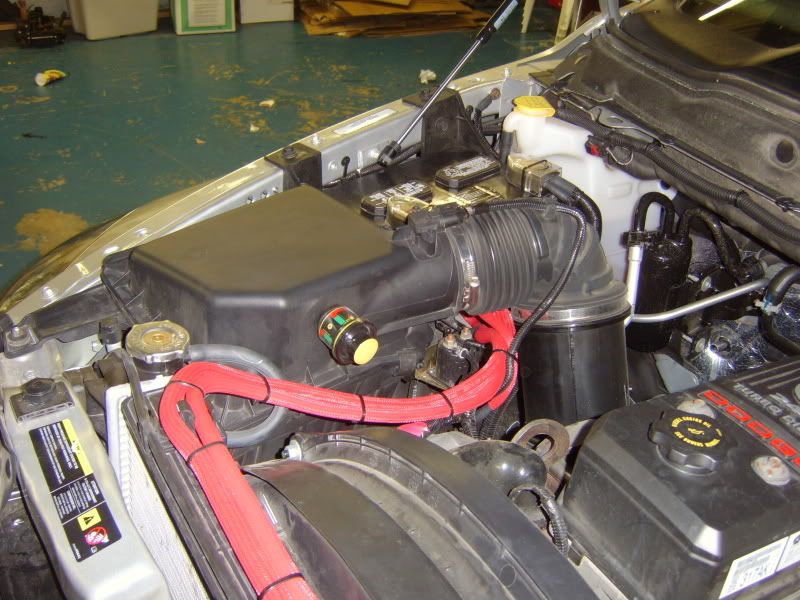
did some "proper wiring today"...


so the backstory is; last week i had a starting issue which i diagnosed as a bad ground. perfect time to get in some practice for the electrical wonderland in the max right? so a couple hudred dollars (yes i overbuy everything) and a few days later i'm ready. i start the day by hitting the rusty ass batterytray with por-15. then i work on some tails for a customer for a bit. usps shows up with everything i need at once (how convenient) so i dive in. a few stumbles as to be expected when doing something new/haven't done in a while and i almost passed out cause its like 100* and i forgot to eat. so about 7 hours after i first stepped into the garage i'm tightening down the positive terminal and it cracks. :pat:
guess it was a bad + rathert than ground. oh well, good thing i bought plenty of supplies.
View original BBCode
did some "proper wiring today"...

[IMG]http://i214.photobucket.com/albums/cc188/BLACKonBLACK98/DSCF0366.jpg[/IMG]

[IMG]http://i214.photobucket.com/albums/cc188/BLACKonBLACK98/DSCF0367-1.jpg[/IMG]

[IMG]http://i214.photobucket.com/albums/cc188/BLACKonBLACK98/DSCF0368.jpg[/IMG]

so the backstory is; last week i had a starting issue which i diagnosed as a bad ground. perfect time to get in some practice for the electrical wonderland in the max right? so a couple hudred dollars (yes i overbuy everything) and a few days later i'm ready. i start the day by hitting the rusty ass batterytray with por-15. then i work on some tails for a customer for a bit. usps shows up with everything i need at once (how convenient) so i dive in. a few stumbles as to be expected when doing something new/haven't done in a while and i almost passed out cause its like 100* and i forgot to eat. so about 7 hours after i first stepped into the garage i'm tightening down the positive terminal and it cracks. :pat:

guess it was a bad + rathert than ground. oh well, good thing i bought plenty of supplies.
very impresseive job.
is your computer wiring like that too?
View original BBCode
very impresseive job.
is your computer wiring like that too?
great writeup! i dont spend as much time on wiring as i should. makes it so much easier to diagnose when you do everything right
View original BBCode
great writeup! i dont spend as much time on wiring as i should. makes it so much easier to diagnose when you do everything right
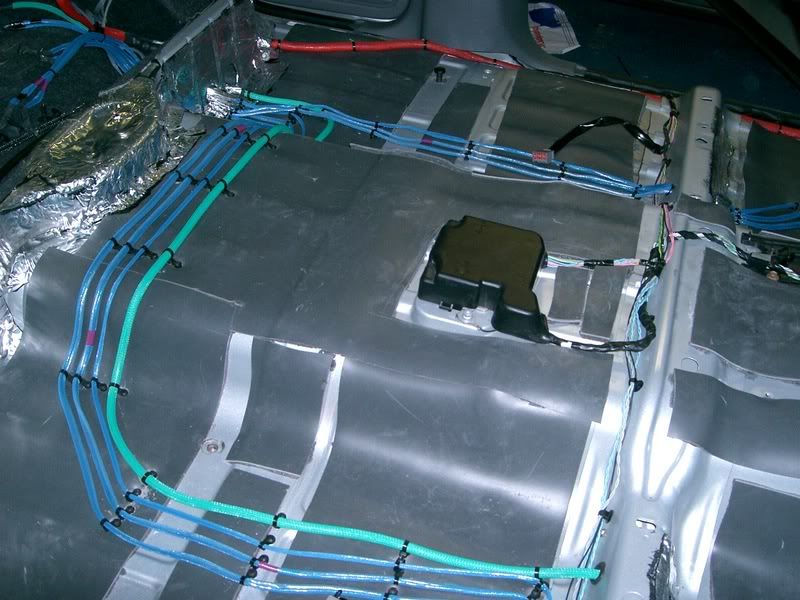
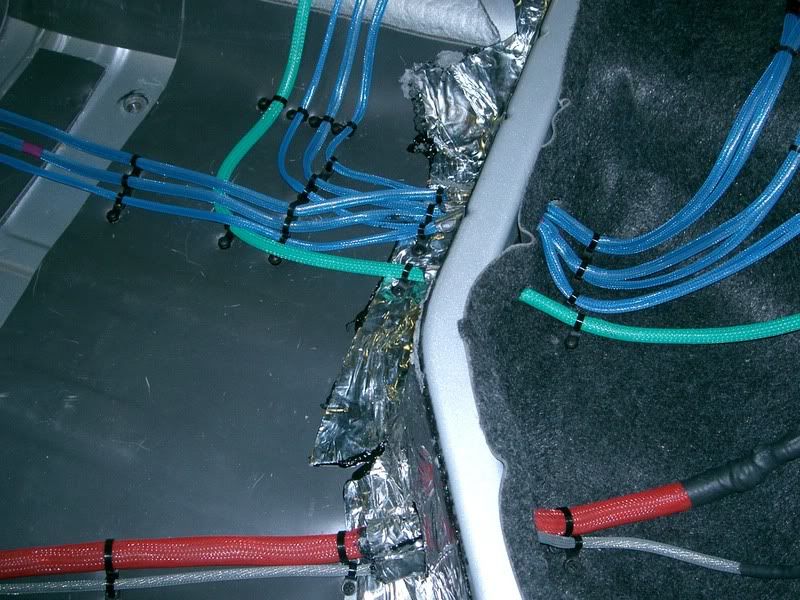
I think i did a pretty good distribution center behind my back seat... which I can access through my rear seat pass through just in case I need to diagnose any issues... or remove the rear seat if I need to add any additional components in the future...
I have Power, Ground and Remote...

View original BBCode
I think i did a pretty good distribution center behind my back seat... which I can access through my rear seat pass through just in case I need to diagnose any issues... or remove the rear seat if I need to add any additional components in the future...

I have Power, Ground and Remote...

[IMG]http://tl.acurazine.com/forums/picture.php?albumid=293&pictureid=1769[/IMG]
my car is being wired up/ran all by huy (Aznattic on h-i)... he does a great job, in wire management, soldering, zip ties, etc... he is doing almost everything on that write up except techflex, i am having him to do heat shrink though.
View original BBCode
my car is being wired up/ran all by huy (Aznattic on h-i)... he does a great job, in wire management, soldering, zip ties, etc... he is doing almost everything on that write up except techflex, i am having him to do heat shrink though.
techflex for mad deebeez/sq. lol.
View original BBCode
techflex for mad deebeez/sq. lol.