How To Install a Sub in a G35 Using Stock Bose System
Figured I would post up a little "How to" seeing as how the beginning of the installation, going through the firewall, is the hardest part for some when it comes to doing an amp install.
This isn't a super detailed write up, I'm going to assume you are somewhat handy with basic tools and aren't afraid to get your hands dirty.
Ok here we go
Tools I used:
Plastic pannel tool
Screwdriver
Knife
wire strippers
solder and soldering iron
Electrical tape
Parts needed:
Amp kit w/ RCAs
Line out converter (LOC)
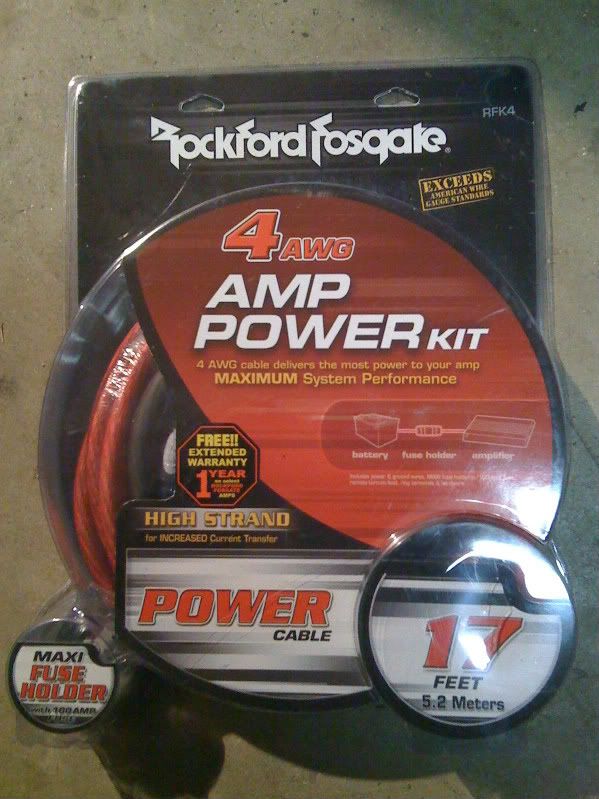
Break open you shiney new amp kit. I just went with the power kit because I already had RCAs:
Take the battery cover off

All the covers come off by popping the middle of these up then pulling them out
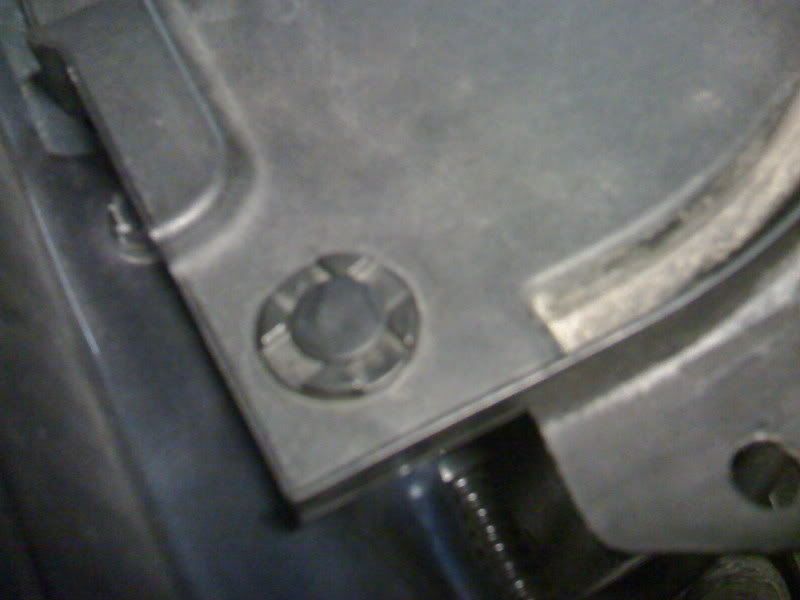
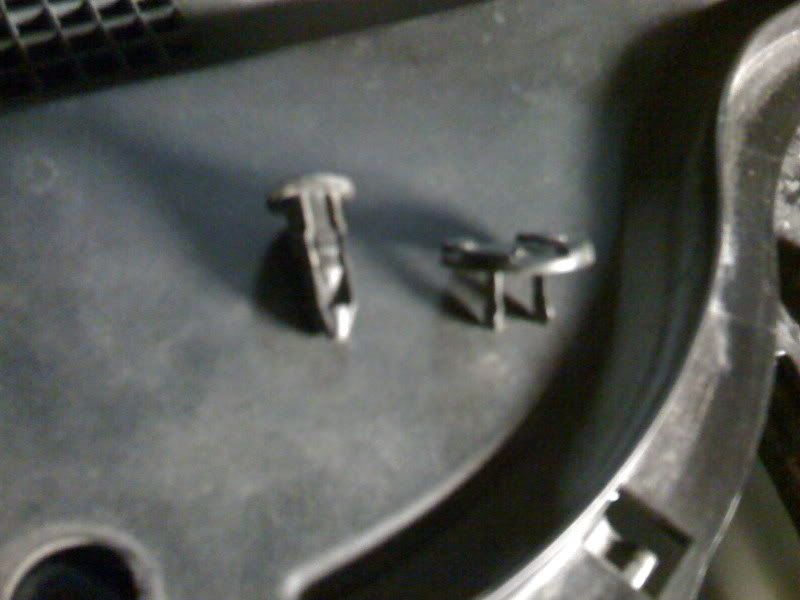
Then take the cabin filter cover off
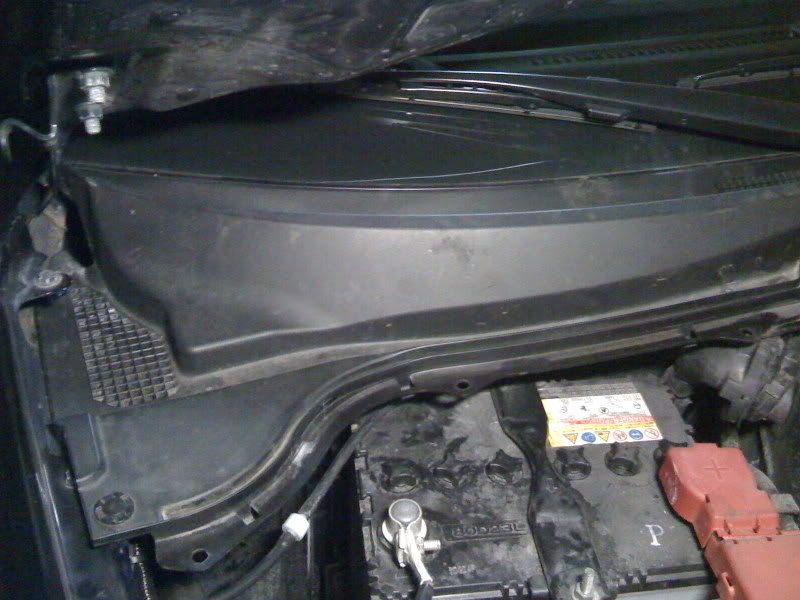
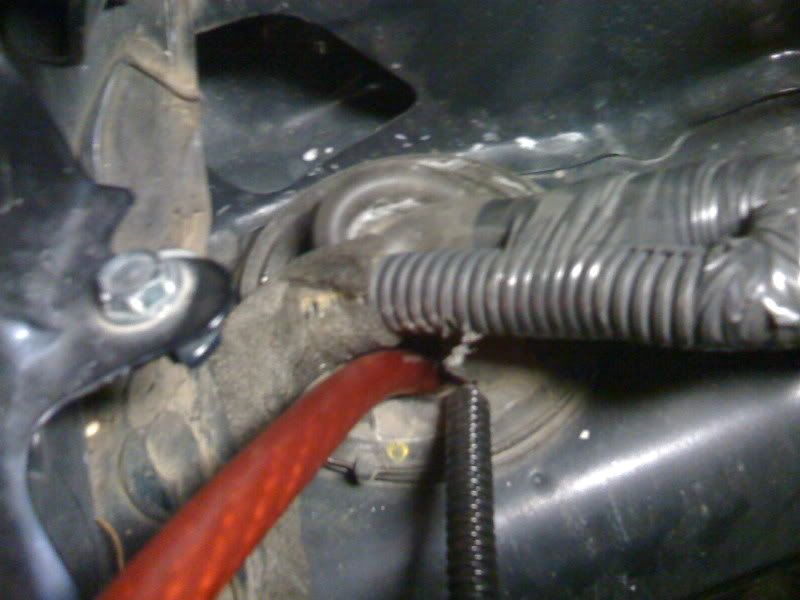
This gromet with the mass of wires going in it, that's where you are going to feed your power wire and any other wires you may need to run in the future. You can already see the hood pin/tach/siren wires coming out for my remote start/alarm.

Make an "X" in the rubber gromet with your knife, and feed the power wire in about 2ft.
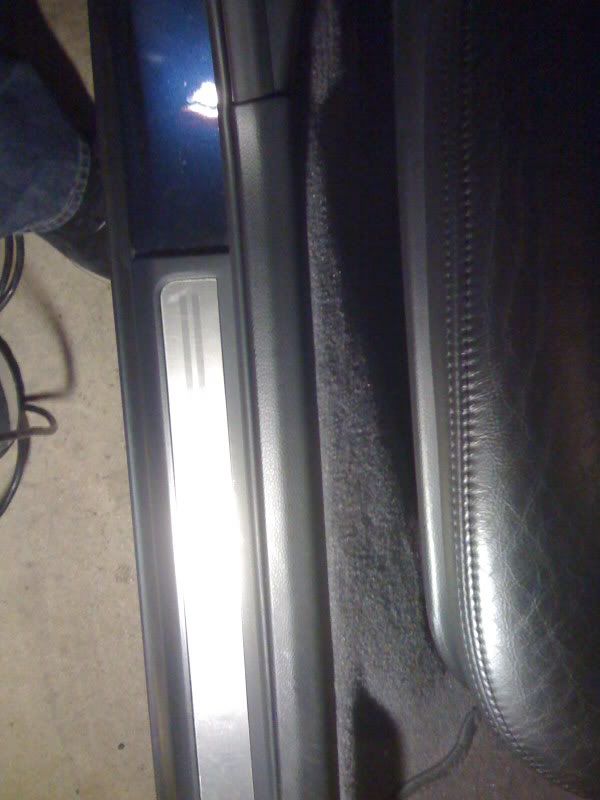
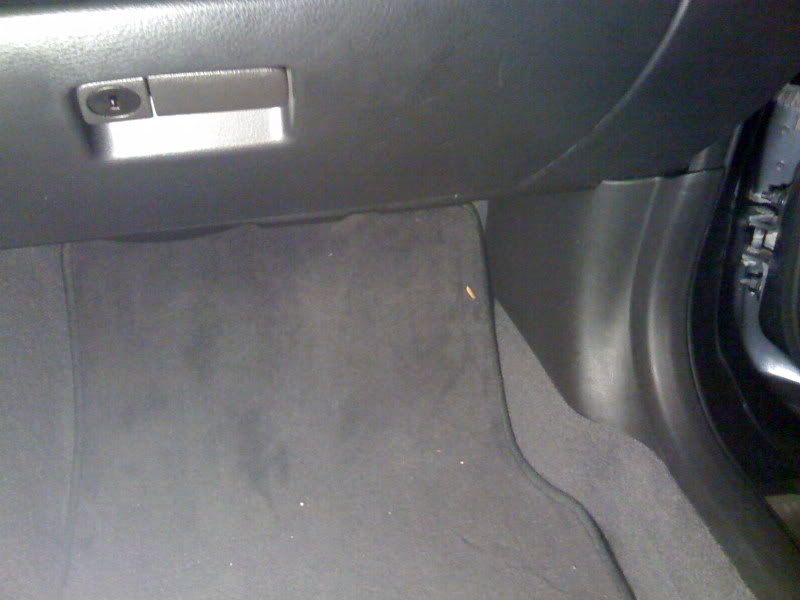
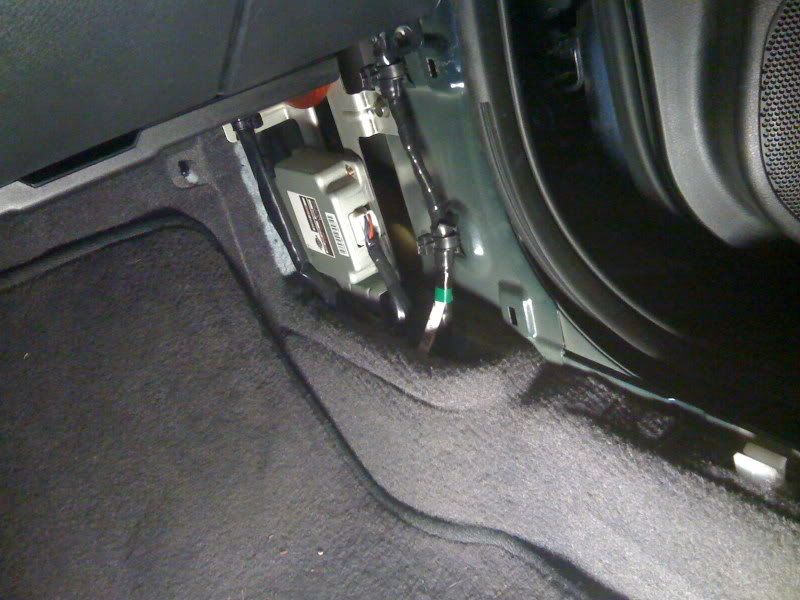
Open the front passenger door and remove the lower trim that runs along the door sill and then the kick panel
View original BBCode
Figured I would post up a little "How to" seeing as how the beginning of the installation, going through the firewall, is the hardest part for some when it comes to doing an amp install.
This isn't a super detailed write up, I'm going to assume you are somewhat handy with basic tools and aren't afraid to get your hands dirty.
Ok here we go
Tools I used:
Plastic pannel tool
Screwdriver
Knife
wire strippers
solder and soldering iron
Electrical tape
Parts needed:
Amp kit w/ RCAs
Line out converter (LOC)
Break open you shiney new amp kit.  I just went with the power kit because I already had RCAs:
[img]http://i12.photobucket.com/albums/a232/w8lifter21/IMG_0173.jpg[/img]
Take the battery cover off
[img]http://i12.photobucket.com/albums/a232/w8lifter21/IMG_0176.jpg[/img]
All the covers come off by popping the middle of these up then pulling them out
[img]http://i12.photobucket.com/albums/a232/w8lifter21/IMG_0178.jpg[/img]
[img]http://i12.photobucket.com/albums/a232/w8lifter21/IMG_0179.jpg[/img]
Then take the cabin filter cover off
[img]http://i12.photobucket.com/albums/a232/w8lifter21/IMG_0177.jpg[/img]
This gromet with the mass of wires going in it, that's where you are going to feed your power wire and any other wires you may need to run in the future.  You can already see the hood pin/tach/siren wires coming out for my remote start/alarm.
[img]http://i12.photobucket.com/albums/a232/w8lifter21/IMG_0180.jpg[/img]
Make an "X" in the rubber gromet with your knife, and feed the power wire in about 2ft.
[img]http://i12.photobucket.com/albums/a232/w8lifter21/IMG_0181.jpg[/img]
Open the front passenger door and remove the lower trim that runs along the door sill and then the kick panel
[img]http://i12.photobucket.com/albums/a232/w8lifter21/IMG_0184.jpg[/img]
[img]http://i12.photobucket.com/albums/a232/w8lifter21/IMG_0182.jpg[/img]
[img]http://i12.photobucket.com/albums/a232/w8lifter21/IMG_0186.jpg[/img]
Stick your head in the foor well and look up towards the gromet. There is your power wire.
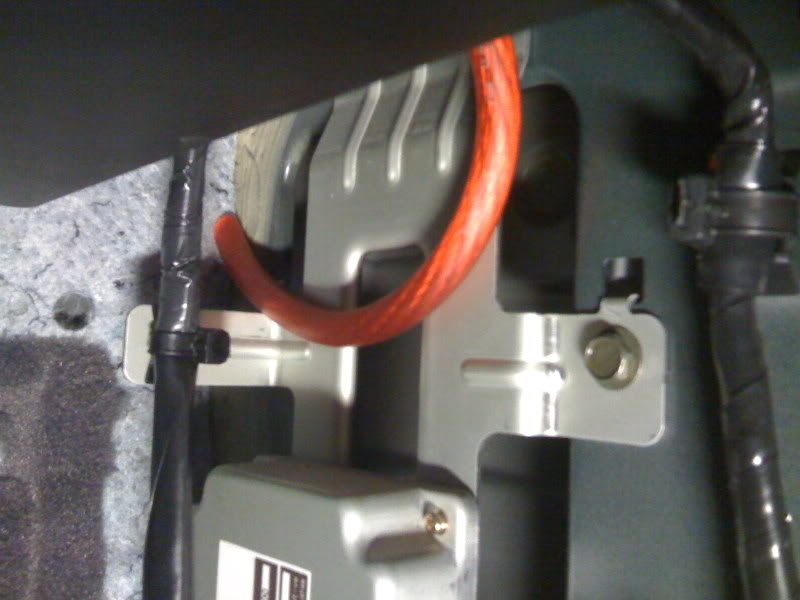
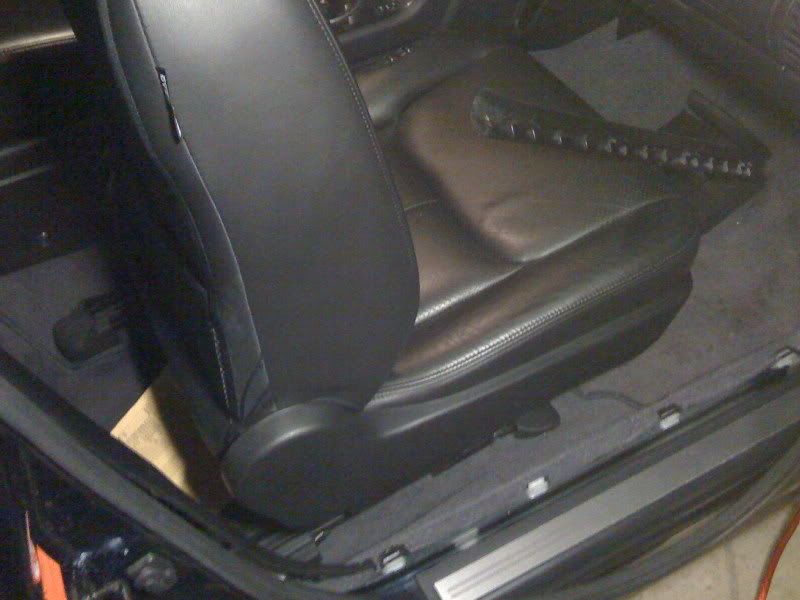
Once all your wire has been pulled, slide the passenger seat all the way forward and tilted.
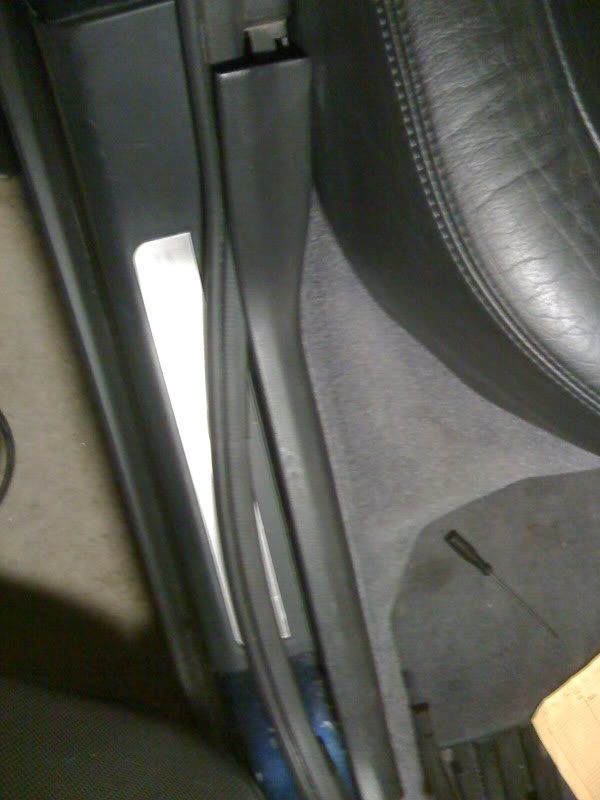
Open rear passenger door and pull up the lower trim along the door sill
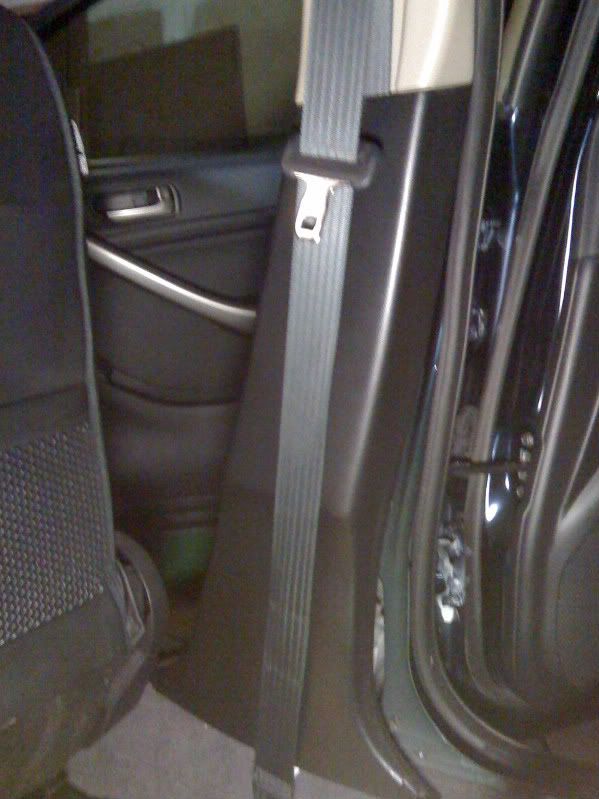
At the bottom of this panel are two clips, one per side. Pull each side straight back towards the other side of the car and the bottom should pop loose.
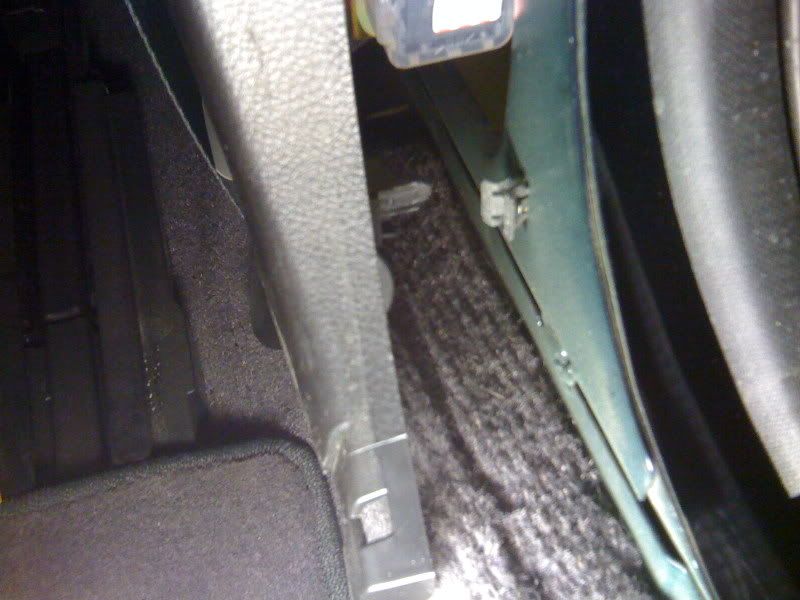
Go back up front and start tucking the wire all the way to the back seat. Carpet is attached to the door sill by plactic loops that go over white clips which is what holds the plastic trim to the car.
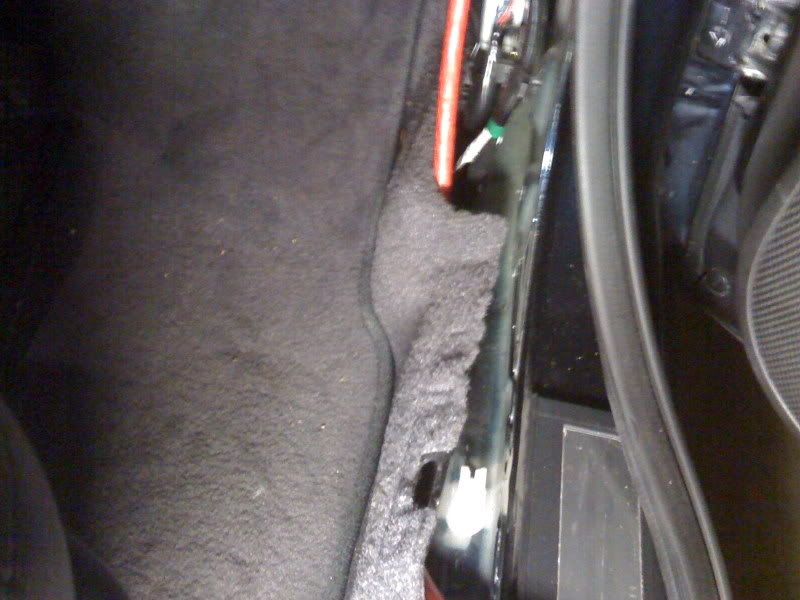
Once you get the wire to the back, take a look at where the bottom of the rear seat meets the carpet. You will see black plastic hoops. To get the rear seat up, pull the loop towards the front of the car and pull up on the seat. Don't try pulling the hoop up with the seat as it's attached to the car.
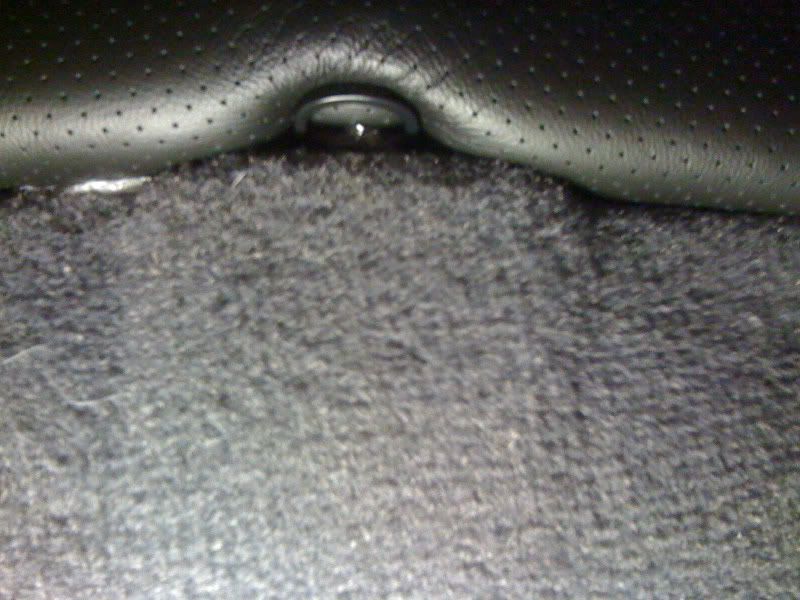
With both sides loose, pull the seat towards the front of the car to give you some space to feed the wire up with your hand. The seat doesn't have to come all the way off, you just need some space for your hand. The back of the back seat(the part that reclines, I had no idea my seats did that and was so amazed :)) has insulation behind it. Make sure when you feed the wire, to pull the insulation up as you pull on the upper back part of the back seat as you feed the wire up towards the trunk. If not, the wire will be between the seat and insulation and you will not be be able to see the wire or pull it.
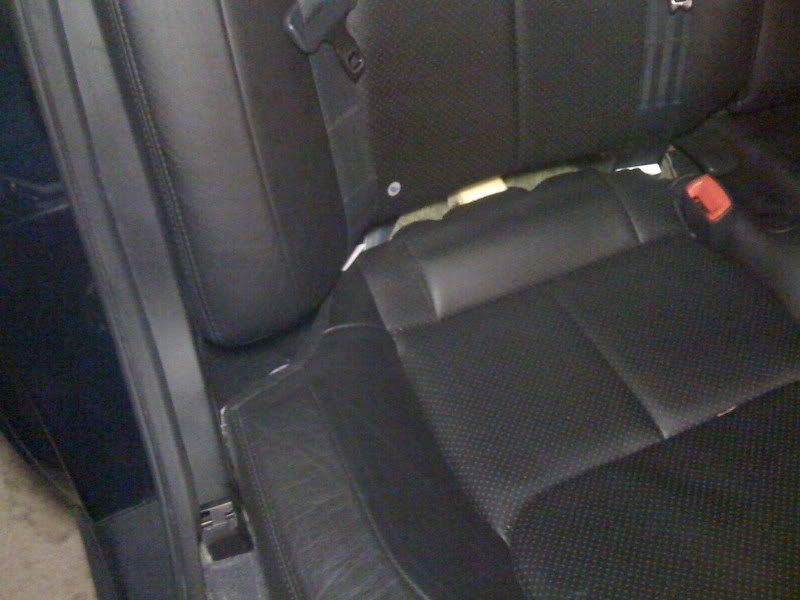

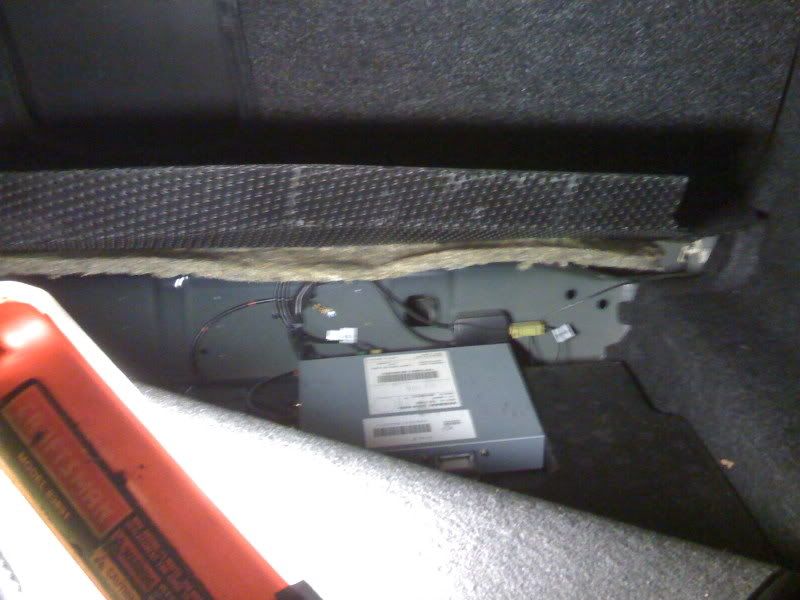
Now that the wire has been fed up towards the trunk, crawl in the trunk and pull back the bottom carpet, and then pull up on the back panel.
View original BBCode
Stick your head in the foor well and look up towards the gromet.  There is your power wire.
[img]http://i12.photobucket.com/albums/a232/w8lifter21/IMG_0187.jpg[/img]
Once all your wire has been pulled, slide the passenger seat all the way forward and tilted.
[img]http://i12.photobucket.com/albums/a232/w8lifter21/IMG_0188.jpg[/img]
Open rear passenger door and pull up the lower trim along the door sill
[img]http://i12.photobucket.com/albums/a232/w8lifter21/IMG_0189.jpg[/img]
At the bottom of this panel are two clips, one per side.  Pull each side straight back towards the other side of the car and the bottom should pop loose.
[img]http://i12.photobucket.com/albums/a232/w8lifter21/IMG_0190.jpg[/img]
[img]http://i12.photobucket.com/albums/a232/w8lifter21/IMG_0191.jpg[/img]
Go back up front and start tucking the wire all the way to the back seat.  Carpet is attached to the door sill by plactic loops that go over white clips which is what holds the plastic trim to the car.
[img]http://i12.photobucket.com/albums/a232/w8lifter21/IMG_0192.jpg[/img]
Once you get the wire to the back, take a look at where the bottom of the rear seat meets the carpet.  You will see black plastic hoops.  To get the rear seat up, pull the loop towards the front of the car and pull up on the seat.  Don't try pulling the hoop up with the seat as it's attached to the car.
[img]http://i12.photobucket.com/albums/a232/w8lifter21/IMG_0193.jpg[/img]
With both sides loose, pull the seat towards the front of the car to give you some space to feed the wire up with your hand.  The seat doesn't have to come all the way off, you just need some space for your hand.  The back of the back seat(the part that reclines, I had no idea my seats did that and was so amazed :)) has insulation behind it.  Make sure when you feed the wire, to pull the insulation up as you pull on the upper back part of the back seat as you feed the wire up towards the trunk.  If not, the wire will be between the seat and insulation and you will not be be able to see the wire or pull it.
[img]http://i12.photobucket.com/albums/a232/w8lifter21/IMG_0194.jpg[/img]
[img]http://i12.photobucket.com/albums/a232/w8lifter21/IMG_0195.jpg[/img]
Now that the wire has been fed up towards the trunk, crawl in the trunk and pull back the bottom carpet, and then pull up on the back panel.
[img]http://i12.photobucket.com/albums/a232/w8lifter21/IMG_0196.jpg[/img]
Once that's done, you should be able to see the wire

Now your power wire is in the trunk
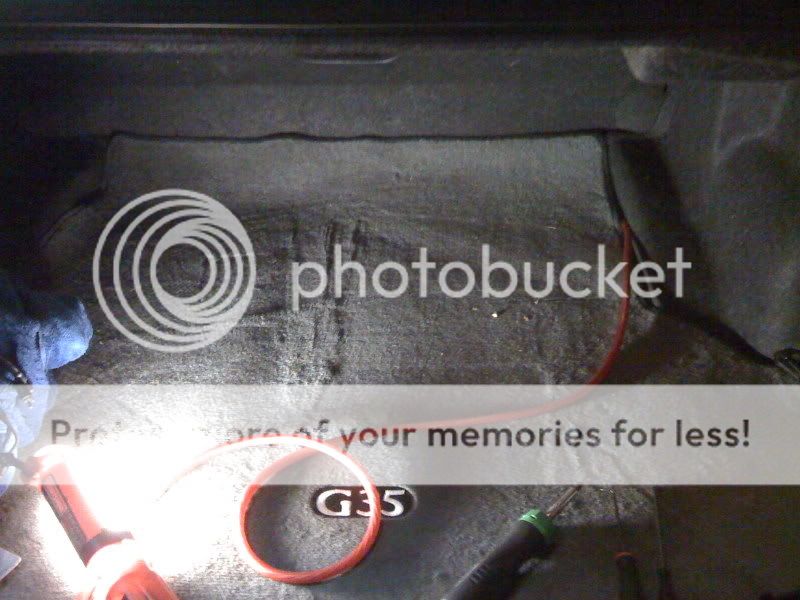
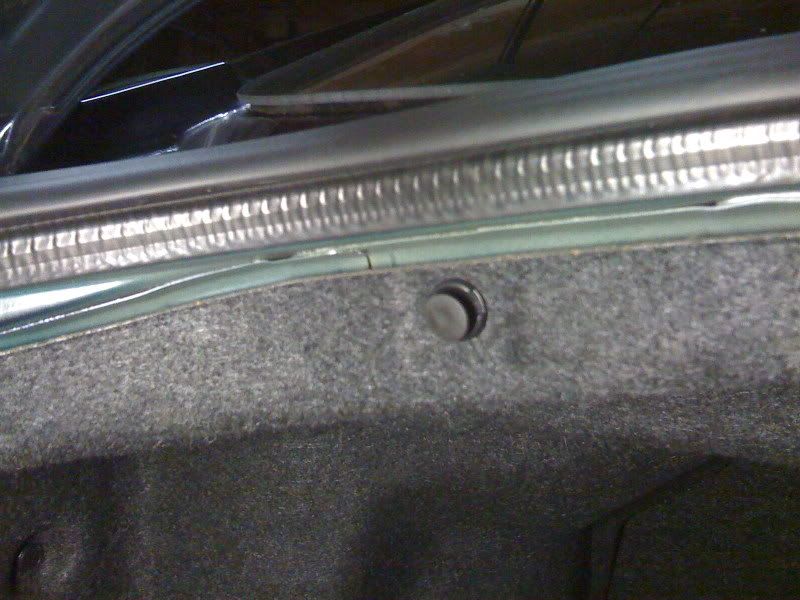
Now to install the line out converter (LOC). You have to pull down the top plastic trunk panel in order to expose the factory sub and amp. Pop out the little black buttons the same way you did the ones under the hood. There are about 6 total. Once they are all out, the panel should flop down like a door because it is attached at the back.
After you drop the panel, you will be able to see the sub

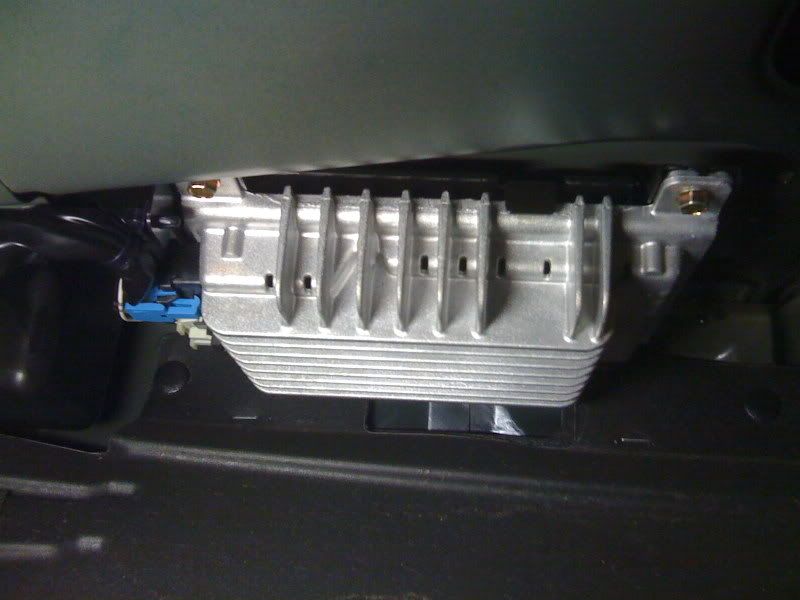
.....and the amp
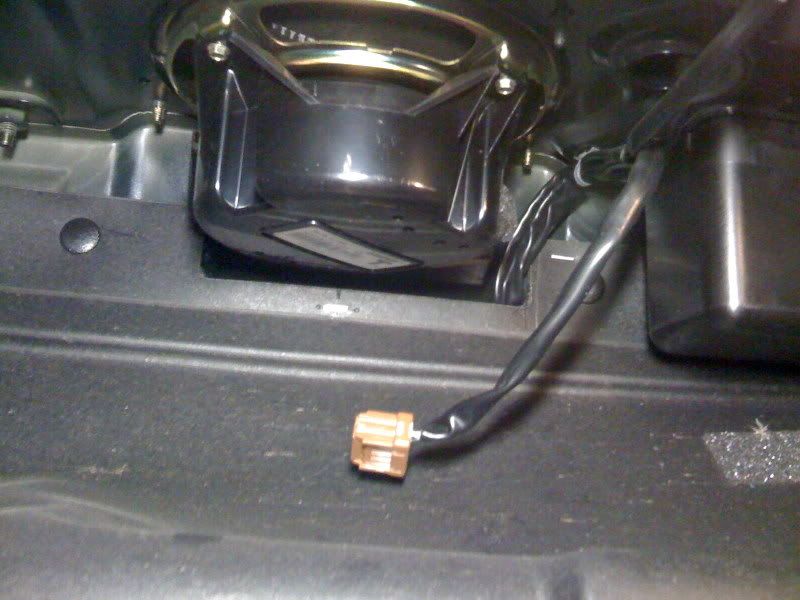
Unplug the brown plug attached to the sub, pull the black sheath covering the wires, you should see a black wire and a white wire
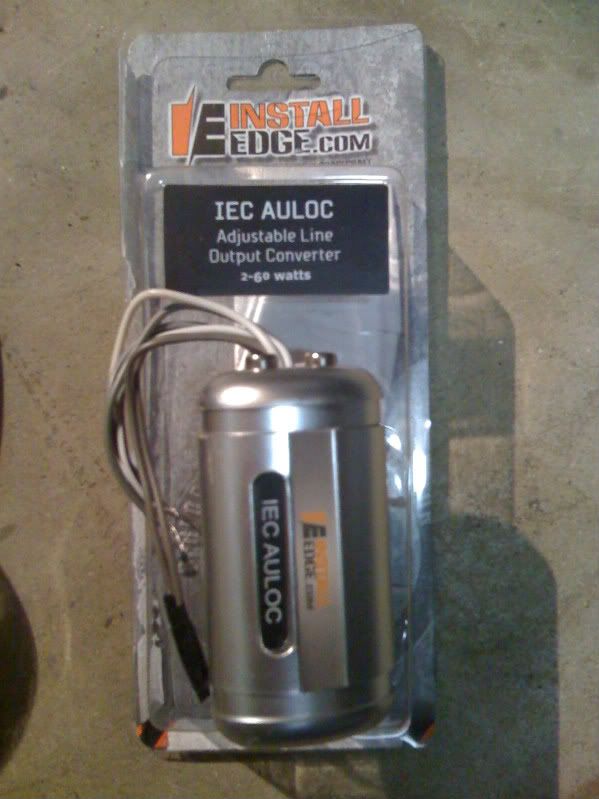
Grab your line out converter
Now twist the (+) together(no stripe), and then the (-) together (w/black stripe). On this particulat LOC, you don't need to use the two brown wires.
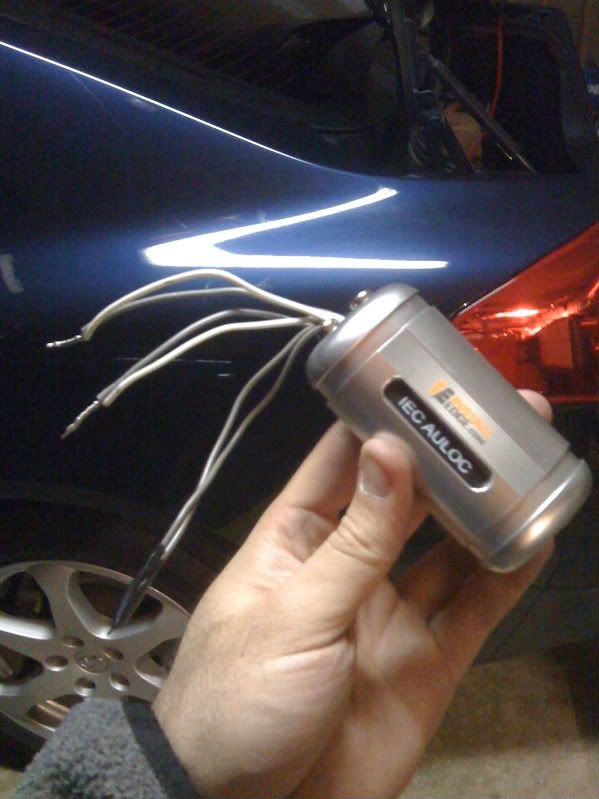
Take the LOC, connect the (+) to the white wire, and the (-) to the black wire. Once you have made your connections, do not plug it back into the sub.

Move over to the amp now and unplug the two plugs on the left side of the amp. You will only need to get to the black plug but it's alot easier to work if both are unplugged

View original BBCode
Once that's done, you should be able to see the wire
[img]http://i12.photobucket.com/albums/a232/w8lifter21/IMG_0197.jpg[/img]
Now your power wire is in the trunk
[img]http://i12.photobucket.com/albums/a232/w8lifter21/IMG_0198.jpg[/img]
Now to install the line out converter (LOC).  You have to pull down the top plastic trunk panel in order to expose the factory sub and amp.  Pop out the little black buttons the same way you did the ones under the hood.  There are about 6 total.  Once they are all out, the panel should flop down like a door because it is attached at the back.
[img]http://i12.photobucket.com/albums/a232/w8lifter21/IMG_0199.jpg[/img]
After you drop the panel, you will be able to see the sub
[img]http://i12.photobucket.com/albums/a232/w8lifter21/IMG_0200.jpg[/img]
.....and the amp
[img]http://i12.photobucket.com/albums/a232/w8lifter21/IMG_0201.jpg[/img]
Unplug the brown plug attached to the sub, pull the black sheath covering the wires, you should see a black wire and a white wire
[img]http://i12.photobucket.com/albums/a232/w8lifter21/IMG_0202.jpg[/img]
Grab your line out converter
[img]http://i12.photobucket.com/albums/a232/w8lifter21/IMG_0174.jpg[/img]
Now twist the (+) together(no stripe), and then the (-) together (w/black stripe).  On this particulat LOC, you don't need to use the two brown wires.
[img]http://i12.photobucket.com/albums/a232/w8lifter21/IMG_0203.jpg[/img]
Take the LOC, connect the (+) to the white wire, and the (-) to the black wire.  Once you have made your connections, do not plug it back into the sub.
[img]http://i12.photobucket.com/albums/a232/w8lifter21/IMG_0204.jpg[/img]
Move over to the amp now and unplug the two plugs on the left side of the amp.  You will only need to get to the black plug but it's alot easier to work if both are unplugged
[img]http://i12.photobucket.com/albums/a232/w8lifter21/IMG_0205.jpg[/img]
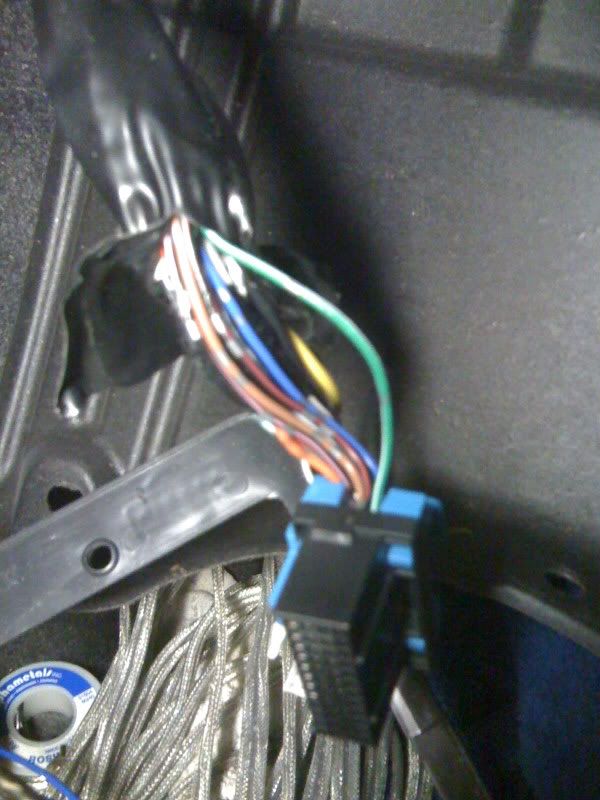
Pull the black sheath back and look for the green wire with the white stripe. That's the amp turn on wire. Take the blue wire that came with the amp kit and connect it to that wire. This is what is going to be turning your aftermarket amp on. Now plug everything back into the amp.
Run your RCAs and amp turn on wire back and down to the bottom of the trunk.
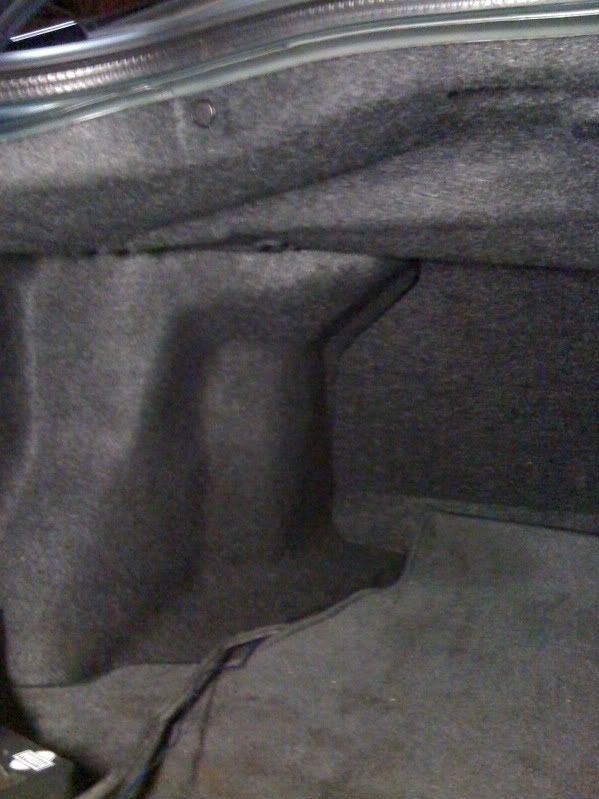
Now for your ground. Pull back the back panel like you did for the power wire, scrape/grind off paint until you get to bare metal, and sink two screws into the connector. Why two? If you attach such a large wire to thin metal, it is easy for it to start to rotate as the car bounces around down the road. That can shake the ground loose and cause your system to cut in and out. by sinking two screws into the terminal, you can help reduce that your ground will come loose. It's best to look for an existing bolt to use, but I didn't find one in the area where I would be mounting my amp.
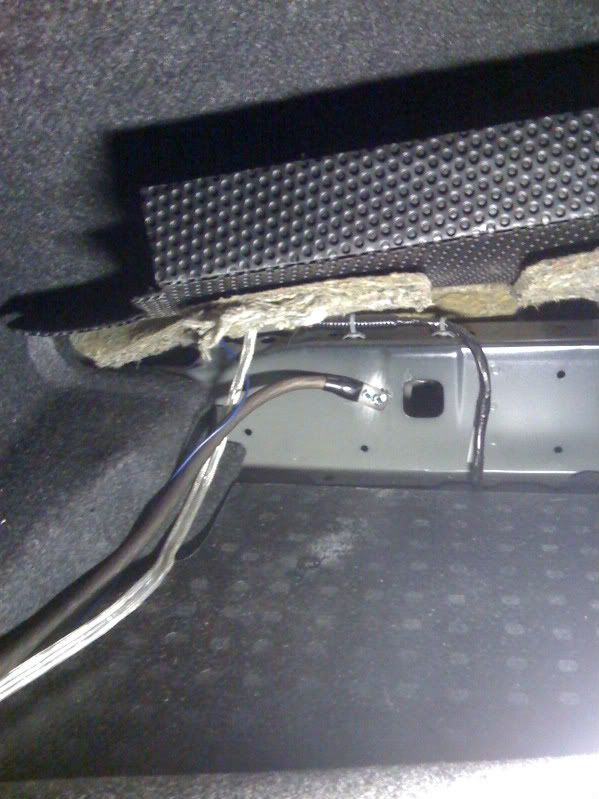
At this point, I leave you to mount the amp, and make your connections to what ever sub/amp combo you have chosen, as the hardest part is over with. I'm running a 10" Type R with a 500w Alpine amp and it sounds pretty good! There is a serious need to have sub volume control, so for now I just have all the settings on the amp turned down. Will I be replacing my HU, yes and very soon. I was just bored on thanksgiving morning and needed something to do :)
View original BBCode
Pull the black sheath back and look for the green wire with the white stripe.  That's the amp turn on wire.  Take the blue wire that came with the amp kit and connect it to that wire.  This is what is going to be turning your aftermarket amp on.  Now plug everything back into the amp.
[img]http://i12.photobucket.com/albums/a232/w8lifter21/IMG_0206.jpg[/img]
Run your RCAs and amp turn on wire back and down to the bottom of the trunk.
[img]http://i12.photobucket.com/albums/a232/w8lifter21/IMG_0207.jpg[/img]
Now for your ground.  Pull back the back panel like you did for the power wire, scrape/grind off paint until you get to bare metal, and sink two screws into the connector.  Why two?  If you attach such a large wire to thin metal, it is easy for it to start to rotate as the car bounces around down the road.  That can shake the ground loose and cause your system to cut in and out.  by sinking two screws into the terminal, you can help reduce that your ground will come loose.  It's best to look for an existing bolt to use, but I didn't find one in the area where I would be mounting my amp.
[img]http://i12.photobucket.com/albums/a232/w8lifter21/IMG_0208.jpg[/img]

At this point, I leave you to mount the amp, and make your connections to what ever sub/amp combo you have chosen, as the hardest part is over with.  I'm running a 10" Type R with a 500w Alpine amp and it sounds pretty good!  There is a serious need to have sub volume control, so for now I just have all the settings on the amp turned down.  Will I be replacing my HU, yes and very soon.  I was just bored on thanksgiving morning and needed something to do :)
great write-up!!:biggthumpup:
View original BBCode
great write-up!!:biggthumpup:
Thank you sir! Stay tuned for when I keep the stock nav voice! :)
View original BBCode
Thank you sir! Stay tuned for when I keep the stock nav voice! :)
Awsome write up. Did it to the station wagon on stock HU
View original BBCode
Awsome write up. Did it to the station wagon on stock HU
I guess, this can be done to a f50?
View original BBCode
I guess, this can be done to a f50?
obese;510536 wrote:I guess, this can be done to a f50?
Sure can. Realistically it can be done in any vehicle on the regular speaker wires, you just have to pay more attention to your frequency settings on the amp to make sure that you are not letting anything around the 80Hz mark flow through the sub.
Also worth installing that I didn't include would be a PAC LC-1. Basically it goes in line between the line out converter and your amp and allows you to reduce the signal to 0 to the amp in case you want to turn the bass down without having to use the radio settings which would affect all the speakers in the car as well.
If you aren't a bass head, I would DEFINITELY install one of these. You can adjust the bass on the radio until the interiors sound good to you, your sub amp gains can be set to max(before clipping/distorting) and you can use this knob to adjust the RCA signal getting to the amp, which in turn lowers the "volume" you hear out the sub. A win all around!
http://www.bestbuy.com/site/pac-remote-amplifier-level-controller/9046105.p?id=1218012140248&skuId=9046105#View original BBCode
[QUOTE=obese;510536]I guess, this can be done to a f50?[/QUOTE]

Sure can.  Realistically it can be done in any vehicle on the regular speaker wires, you just have to pay more attention to your frequency settings on the amp to make sure that you are not letting anything around the 80Hz mark flow through the sub.

Also worth installing that I didn't include would be a PAC LC-1.  Basically it goes in line between the line out converter and your amp and allows you to reduce the signal to 0 to the amp in case you want to turn the bass down without having to use the radio settings which would affect all the speakers in the car as well.

If you aren't a bass head, I would DEFINITELY install one of these.  You can adjust the bass on the radio until the interiors sound good to you, your sub amp gains can be set to max(before clipping/distorting) and you can use this knob to adjust the RCA signal getting to the amp, which in turn lowers the "volume" you hear out the sub.  A win all around!

[url]http://www.bestbuy.com/site/pac-remote-amplifier-level-controller/9046105.p?id=1218012140248&skuId=9046105#[/url]
Why not "do not plug it back into the sub"brown plug?
View original BBCode
Why not "do not plug it back into the sub"brown plug?
Varnaut;514467 wrote:Why not "do not plug it back into the sub"brown plug?
Basically any sub installed is going to drown out the stock sub. No sense in having it playing, save the wear and tear on it.
View original BBCode
[QUOTE=Varnaut;514467]Why not  "do not plug it back into the sub"brown plug?[/QUOTE]

Basically any sub installed is going to drown out the stock sub. No sense in having it playing, save the wear and tear on it.
