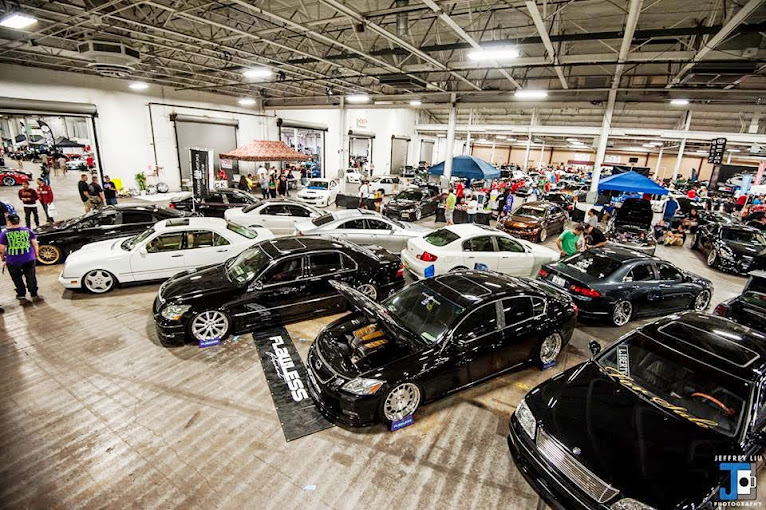
kuWuPtSeptember 3, 2012
#463003Build Log - From the beginning
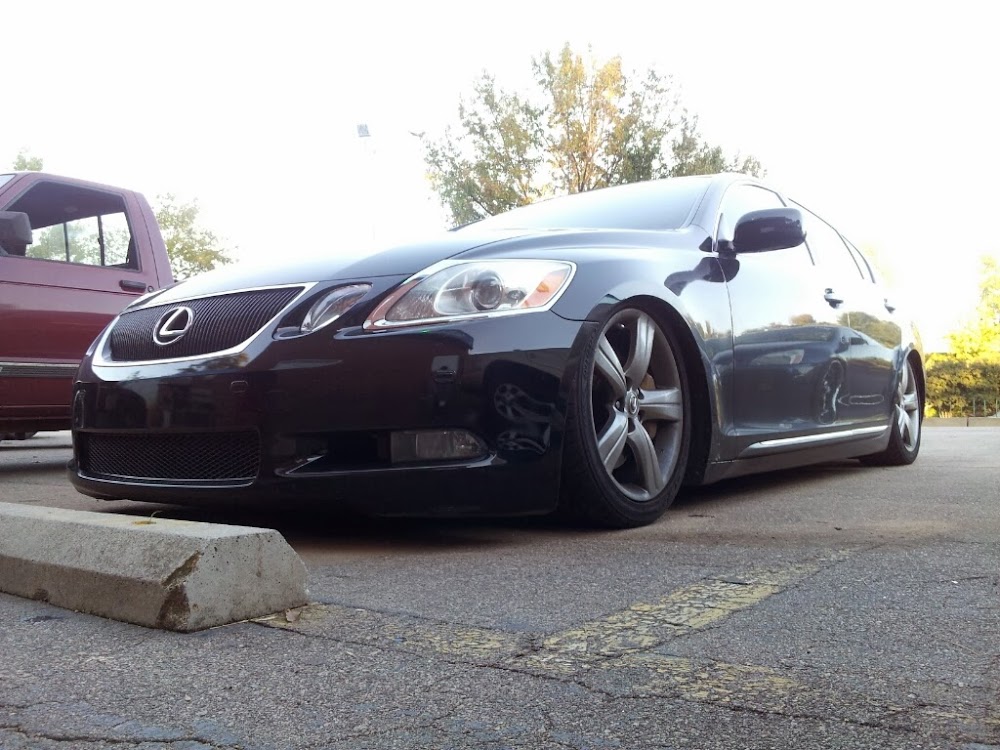
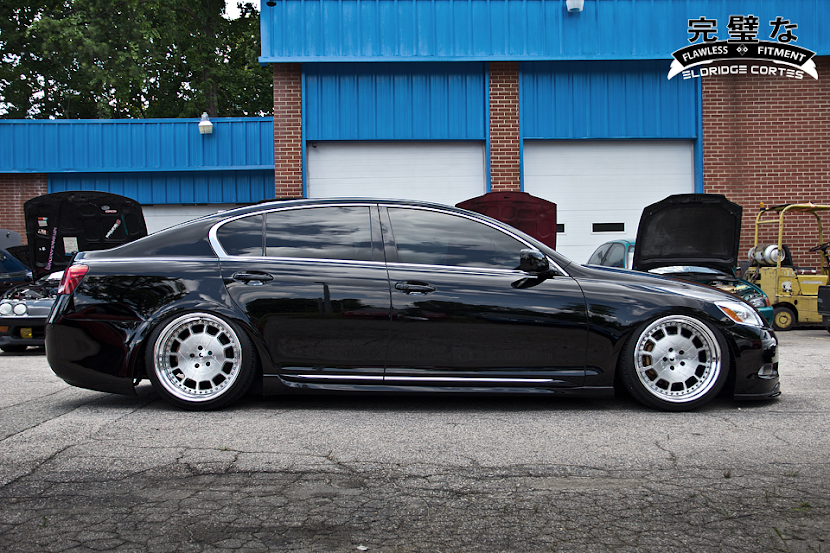
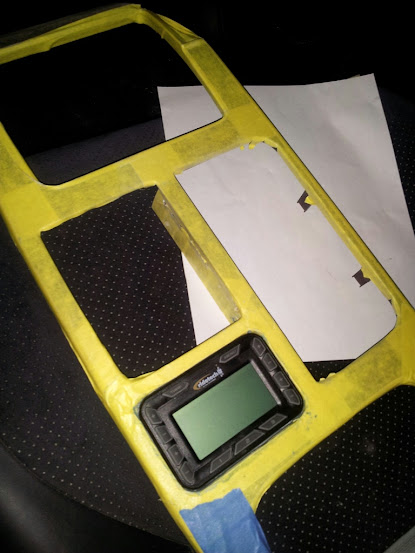
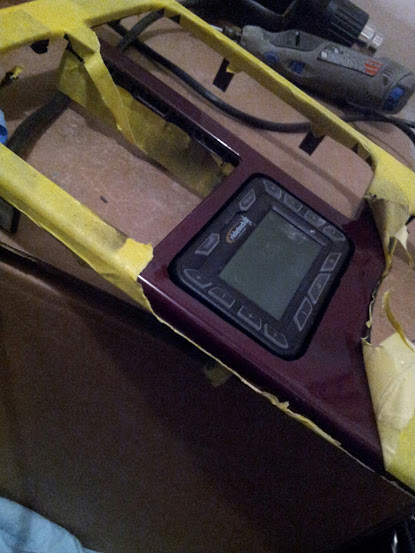
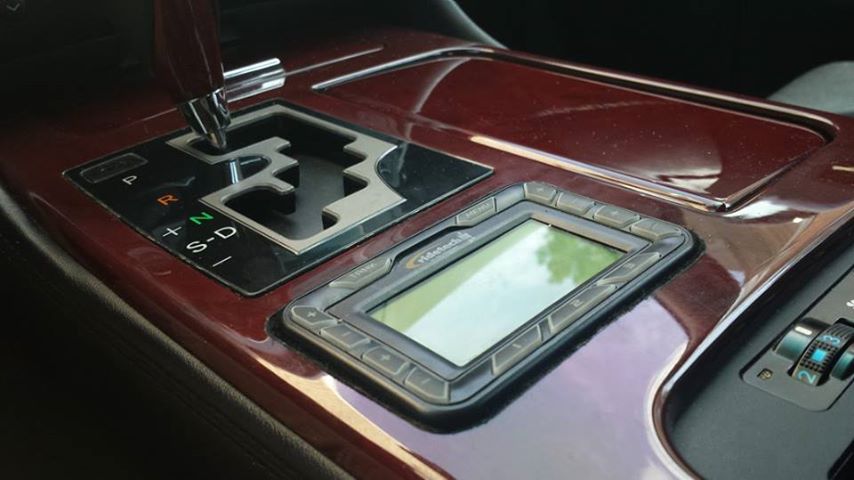
After the loss of the 2001 GS300, I wanted a 2006 Lexus GS430 and after over a month of looking around I picked one up from Florida. Like with its predecessor a complete overhaul was planned. Usually the first things I change are the HIDs, leds, wiper blades and a JDM squash air freshener :). My wiper blade of choice are the PIAA blades and I would recommend them to anyone. Stock HIDs are replaced with 6k and the fog lights and high beams are changed to 6k HIDs too. I have a mini tech system now so was able to turn off my DRLs in order for the HIDs to work.Prevention is better than cure, so with this mindset all maintenance parts were ordered.
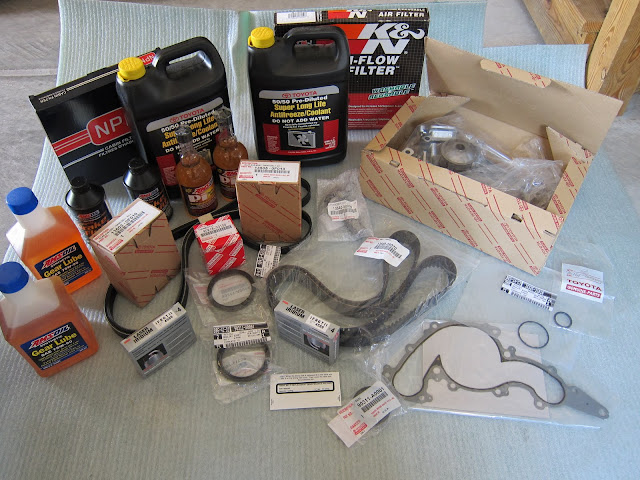
MOTOR MAINTENANCE:
Toyota (90916-02586) Multi Rib Belt
Toyota (13540-50030) Timing Belt Tensioner
Toyota (13505-0F010) Timing Belt Idler
Toyota (13503-0F010) Timing Belt Idler
Toyota (13568-09070) Timing Belt
Toyota (16100-59275-83) Water Pump w/Housing
Toyota Water pump O ring (96761-35025)
Toyota Water pump gasket (16325-31010)
Toyota thermostat (90916-03100)
Toyota thermostat gasket (16346-50010)
Toyota Coolant (00272-SLLC2)
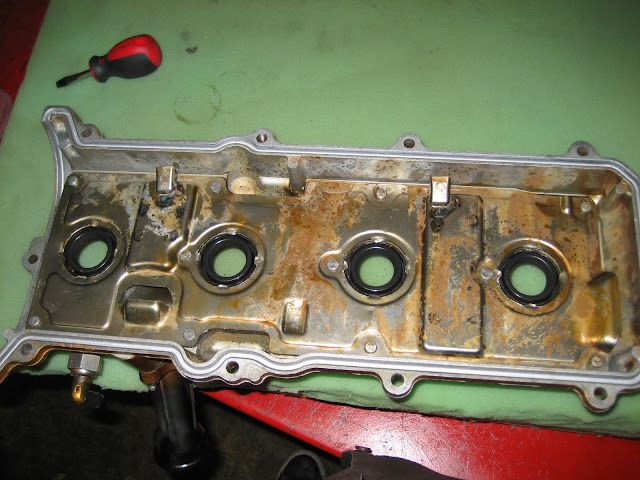
Toyota Valve Cover gaskets (11213-50031 & 11214-50011)
Toyota Spark Plug Gasket (11193-50010) x 8
Toyota Throttle Body Gasket (22271-500042)
OEM Front Main Seal (90311-A0001)
OEM Camshaft Seal (90311-A0004) (x2)
NGK Plugs IFR6T11
K&N Air Filter
Amsoil Performance improver APICN (x2)
Seafoam SF16
Seafoam Deep Creep
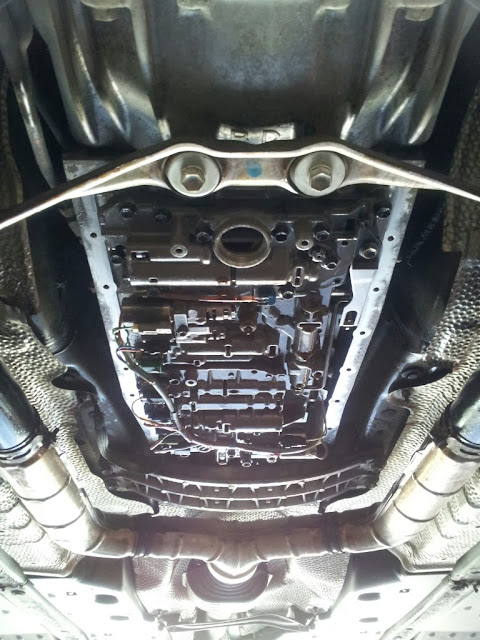
TRANSMISSION:
Amsoil transmission fluid (ATLQT) 12qt
Seafoam TT16
Toyota Transmission Filter
Toyota Transmission Pan Gasket (35168-60010)
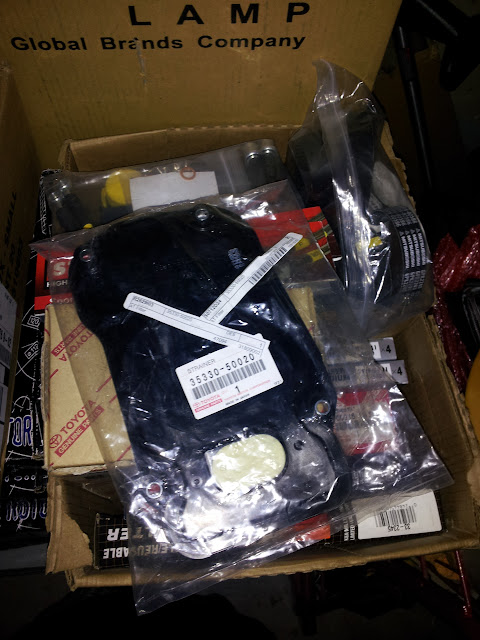
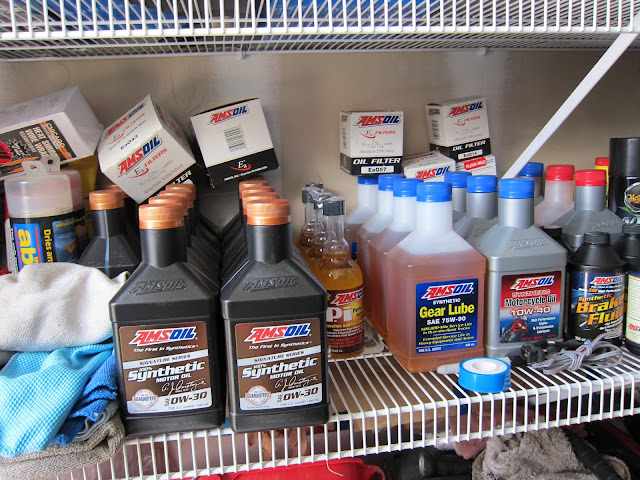
All lubricants: engine, transmission, brake, differential and power steering fluids are going to be cleaned, flushed and replaced with Amsoil fluids. A seafoam treatment, throttle body cleaning, cabin filter and battery replacement are also in the plans.
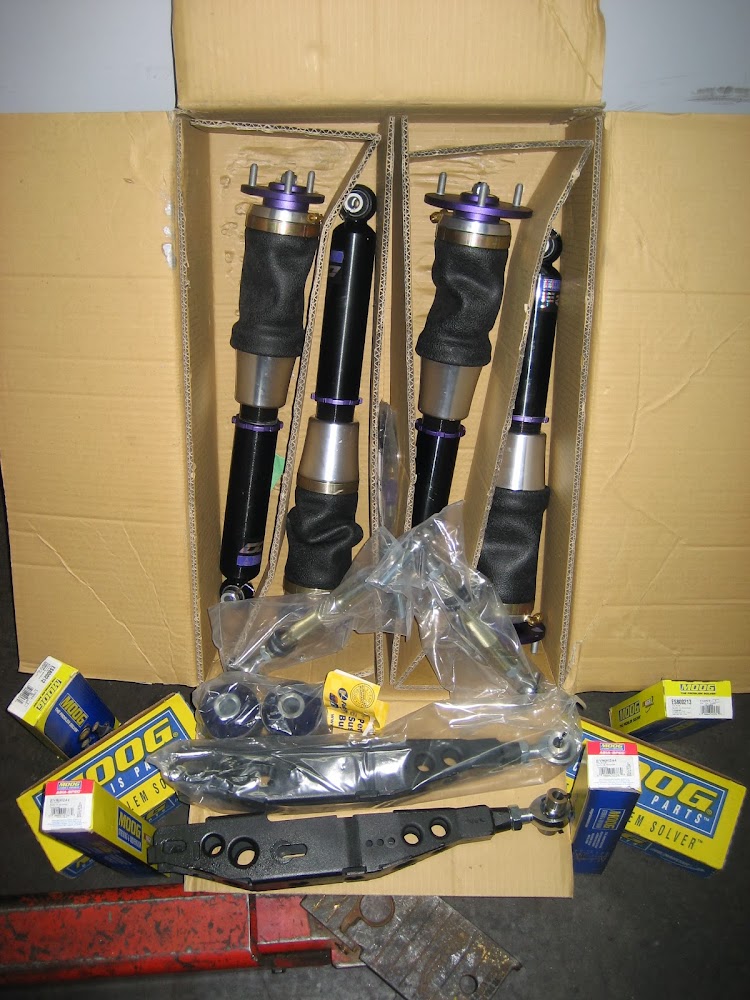
SUSPENSION MAINTENANCE:
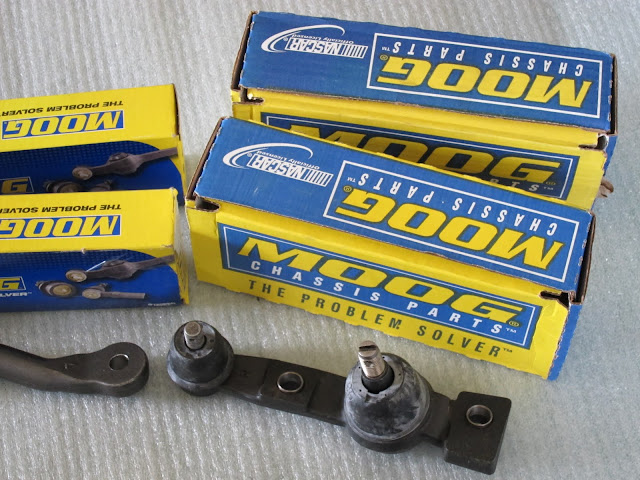
Moog inner tie rods EV800244 (x2)
Moog Outter tie rod Left ES800212
Moog Outter tie rod Right ES800213
Moog Ball joint Left K500123
Moog Ball joint Right K500124


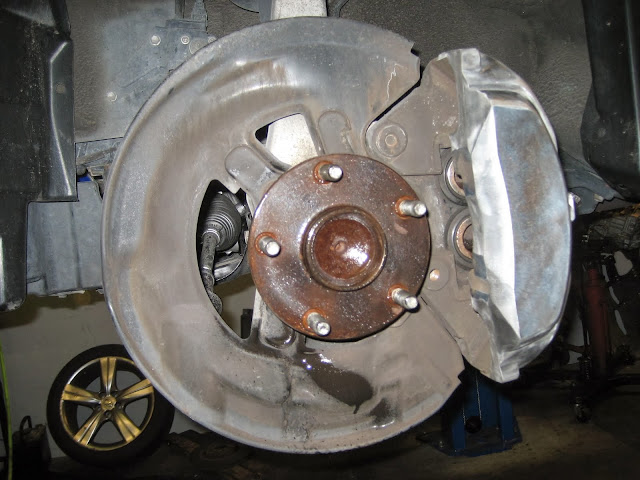
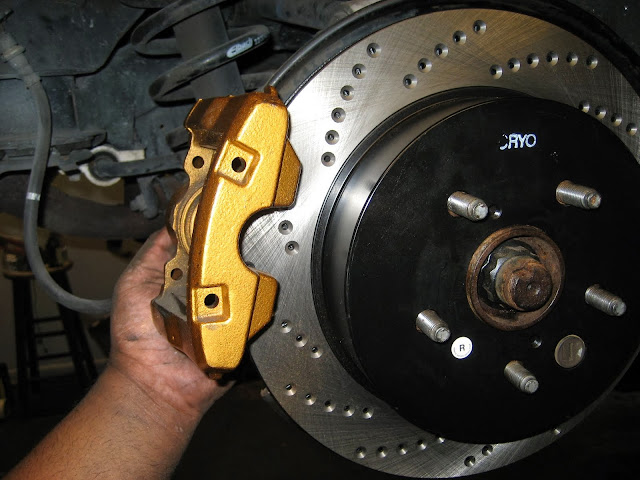
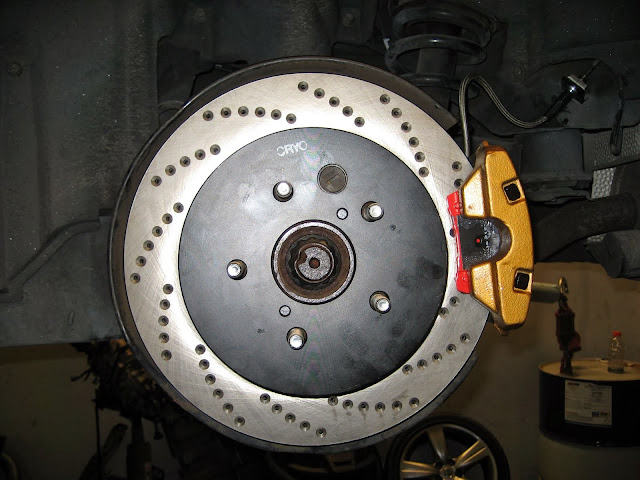
For brakes I chose to go with StopTech cryo treated drilled rotors. Decided to stick with Amsoil's brake fluid as well. On the GS300 I had got some Rotora rotors and got them cryo treated locally back in the day. That paired up with some HAWK HPS pads gave me all the braking force that I needed. Unfortunately Hawk does not make any brake pads for the 2006 GS430 and so I decided to give the EBC Red Stuff a shot. The cryo treatment removes all thermal and mechanical stresses within the rotor. With a more uniform metal structure, the rotor dissipates heat quickly, evenly and from past experience definitely enhances the life of the rotor. Definitely worth it. For more in depth reading on the cryogenic process you can goodle it :) or check this link out.
http://www.cryogenicsinternational.com/rotors.htm

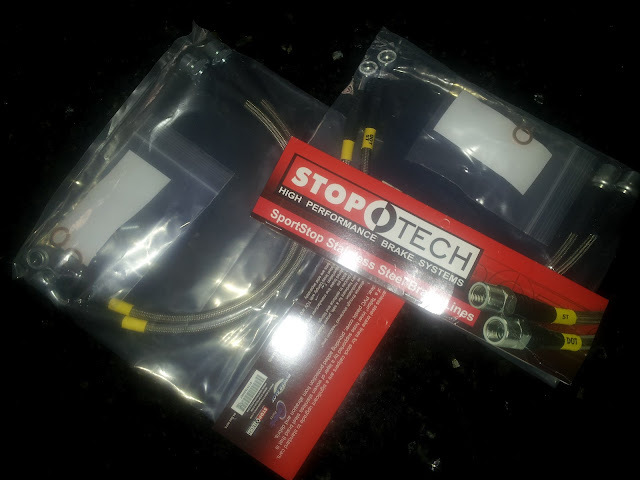
I also chose to go with the StopTech stainless steel lines which also has Teflon outer jackets. Previously I had Rotora lines but again Rotora doesn't make rotors or lines for the GS430.
StopTech Front SS lines - 950.44003
StopTech Rear SS lines - 950.44504
Updates on the install coming soon....
Write up: Flawless Fitment
UPDATE: 09/19/2012
With all my maintenance parts together and collecting dust, it was high time I started installing everything. Prior to installation I tried to clean out the engine, injectors etc as best I could. To achieve this I did it in steps and used a couple of products. First I used seafoam, 1/3rd in fuel tank, 1/3rd in crank case and 1/3rd through a vacuum source to the intake. Drove for about a 100miles or so and in another half tank of gas added some Amsoil Performance Improver. Drained and filled oil using some regular shell oil and added some more seafoam in crank case. After another 100 miles pulled it in for all the maintenance work.
Have known the guys at Turbo Time in Cary, NC for years and they were kind enough to let me use their facility to do all my maintenance work. Which with the weather we chose to do at night, even though their facility is air conditioned. Matthew Meadows offered to help me with this endeavor. When I mean help, I mean he ended up doing 70% of the work. LOL. It is an absolute pleasure to work with someone as picky as I am so everything went fairly smoothly. After running through a plan of action with Matt we got down to it.
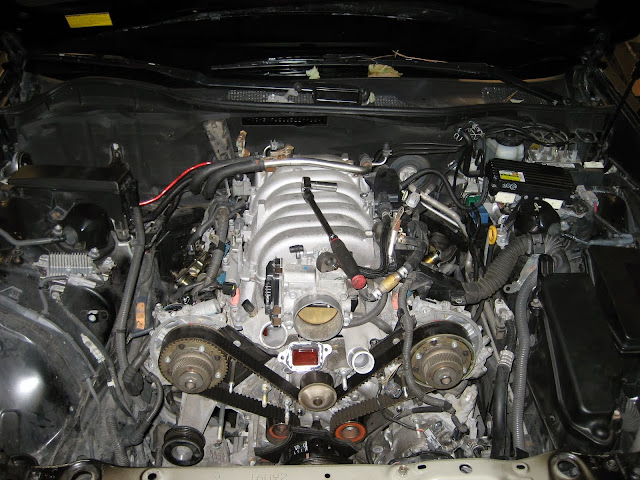
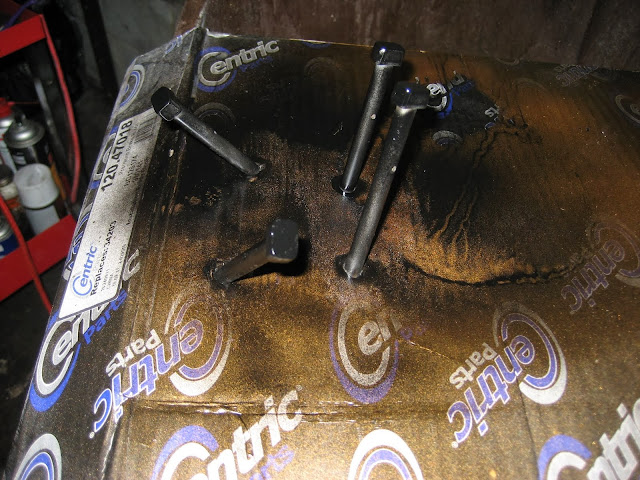
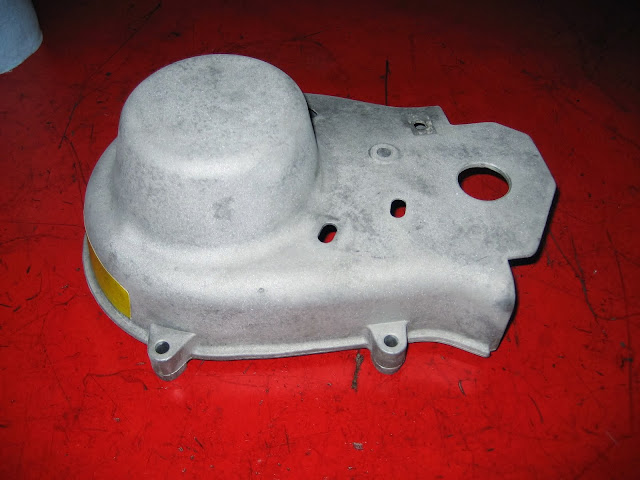
Tore out the valve covers, cam caps, throttle body etc to start changing gaskets, seals etc. While all the parts were out I wanted to accent the engine bay and make that part of the car look good as well. Had a vision in mind when I was doing this so hopefully it turns out as well as I picture it when I complete it. All the parts were media blasted and put through a parts cleaner, ready for paint. I used a high temp Gold and put a couple of coats of clear over it for some depth.
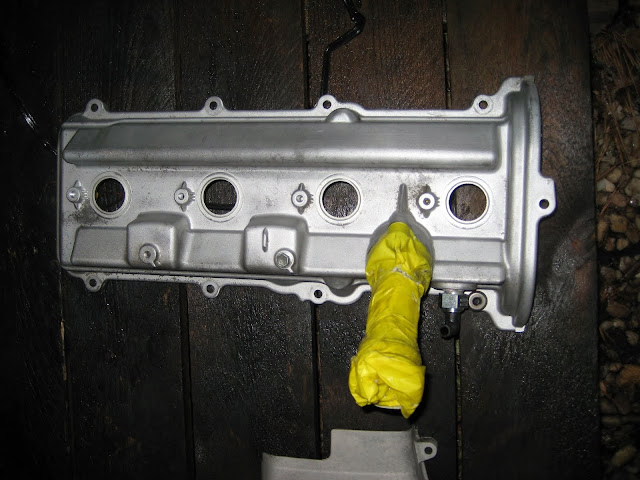
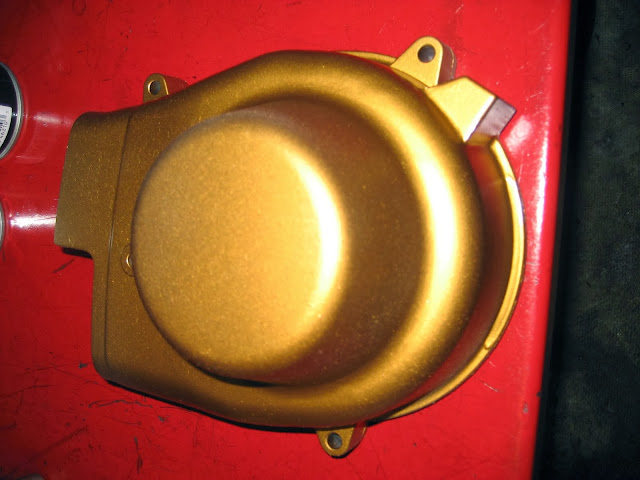
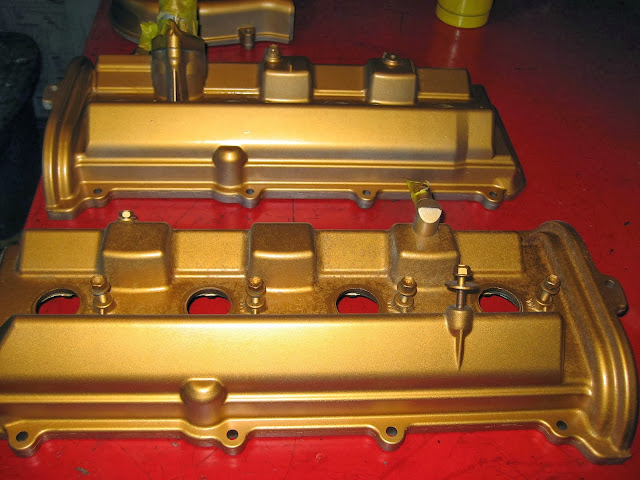
The throttle body was pulled out and was thoroughly cleaned out as well.
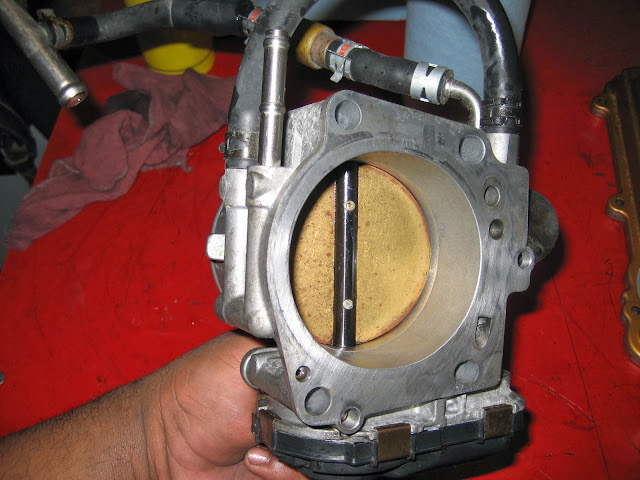
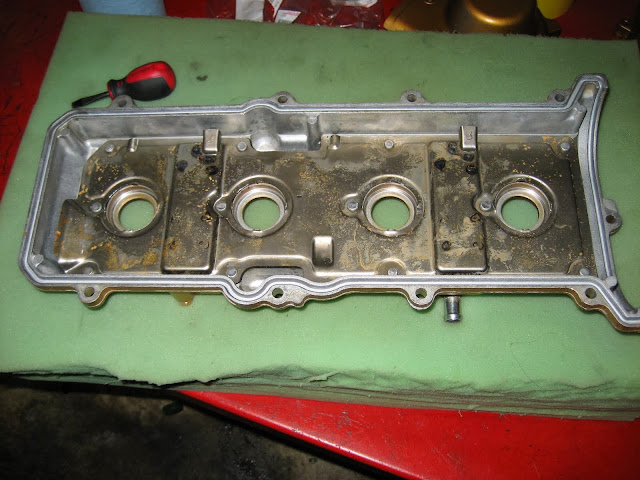
The spark plug gaskets were replaced as well from the valve cover.
View original BBCode
After the loss of the 2001 GS300, I wanted a 2006 Lexus GS430 and after over a month of looking around I picked one up from Florida. Like with its predecessor a complete overhaul was planned. Usually the first things I change are the HIDs, leds, wiper blades and a JDM squash air freshener :). My wiper blade of choice are the PIAA blades and I would recommend them to anyone. Stock HIDs are replaced with 6k and the fog lights and high beams are changed to 6k HIDs too. I have a mini tech system now so was able to turn off my DRLs in order for the HIDs to work.


Prevention is better than cure, so with this mindset all maintenance parts were ordered.


MOTOR  MAINTENANCE:


Toyota (90916-02586) Multi Rib Belt
Toyota (13540-50030) Timing Belt Tensioner
Toyota (13505-0F010) Timing Belt Idler
Toyota (13503-0F010) Timing Belt Idler
Toyota (13568-09070) Timing Belt
Toyota (16100-59275-83) Water Pump w/Housing
Toyota Water pump O ring (96761-35025)
Toyota Water pump gasket (16325-31010)
Toyota thermostat (90916-03100)
Toyota thermostat gasket (16346-50010)
Toyota Coolant (00272-SLLC2)
Toyota Valve Cover gaskets (11213-50031 & 11214-50011)
Toyota Spark Plug Gasket (11193-50010) x 8
Toyota Throttle Body Gasket (22271-500042)
OEM Front Main Seal (90311-A0001)
OEM Camshaft Seal (90311-A0004) (x2)
NGK Plugs IFR6T11
K&N Air Filter
Amsoil Performance improver  APICN (x2)
Seafoam SF16
Seafoam Deep Creep


TRANSMISSION:
Amsoil transmission fluid (ATLQT) 12qt
Seafoam TT16
Toyota Transmission Filter
Toyota Transmission Pan Gasket (35168-60010)


[URL="http://3.bp.blogspot.com/-7OZH_0VVOHU/T-ik_UIC1_I/AAAAAAAAAnc/DYcSihLkQTw/s640/IMG_1099.JPG"][IMG]http://3.bp.blogspot.com/-7OZH_0VVOHU/T-ik_UIC1_I/AAAAAAAAAnc/DYcSihLkQTw/s640/IMG_1099.JPG[/IMG][/URL]


[URL="http://2.bp.blogspot.com/-0g9Cl7BiiJA/T_J0TteYVXI/AAAAAAAAA0g/4PSCjiaZ5J4/s640/20120703_002221.jpg"][IMG]http://2.bp.blogspot.com/-0g9Cl7BiiJA/T_J0TteYVXI/AAAAAAAAA0g/4PSCjiaZ5J4/s640/20120703_002221.jpg[/IMG][/URL]


All lubricants: engine, transmission, brake, differential and power steering fluids are going to be cleaned, flushed and replaced with Amsoil fluids. A seafoam treatment, throttle body cleaning, cabin filter and battery replacement are also in the plans.


[URL="http://3.bp.blogspot.com/-VvmvD3lzZnE/T-ilGdOyaGI/AAAAAAAAAoc/-08cjXXcfTw/s640/IMG_1112.JPG"][IMG]http://3.bp.blogspot.com/-VvmvD3lzZnE/T-ilGdOyaGI/AAAAAAAAAoc/-08cjXXcfTw/s640/IMG_1112.JPG[/IMG][/URL]


SUSPENSION MAINTENANCE:
Moog inner tie rods EV800244 (x2)
Moog Outter tie rod Left ES800212
Moog Outter tie rod Right ES800213
Moog Ball joint Left K500123
Moog Ball joint Right K500124


[URL="http://3.bp.blogspot.com/-Sjcdt3Td2fk/T-ilCm_8KVI/AAAAAAAAAn8/LpaJSsIe2oA/s640/IMG_1105.JPG"][IMG]http://3.bp.blogspot.com/-Sjcdt3Td2fk/T-ilCm_8KVI/AAAAAAAAAn8/LpaJSsIe2oA/s640/IMG_1105.JPG[/IMG][/URL]


[URL="http://1.bp.blogspot.com/-8bHjegFj7j8/T-ilD7NkcRI/AAAAAAAAAoE/0f30jWurE4E/s640/IMG_1106.JPG"][IMG]http://1.bp.blogspot.com/-8bHjegFj7j8/T-ilD7NkcRI/AAAAAAAAAoE/0f30jWurE4E/s640/IMG_1106.JPG[/IMG][/URL]


[URL="http://4.bp.blogspot.com/-LO-3ghmNv0s/T-ilEpIbSoI/AAAAAAAAAoM/yX1pq_wRLuw/s640/IMG_1107.JPG"][IMG]http://4.bp.blogspot.com/-LO-3ghmNv0s/T-ilEpIbSoI/AAAAAAAAAoM/yX1pq_wRLuw/s640/IMG_1107.JPG[/IMG][/URL]


For brakes I chose to go with StopTech cryo treated drilled rotors. Decided to stick with Amsoil's brake fluid as well. On the GS300 I had got some Rotora rotors and got them cryo treated locally back in the day. That paired up with some HAWK HPS pads gave me all the braking force that I needed. Unfortunately Hawk does not make any brake pads for the 2006 GS430 and so I decided to give the EBC Red Stuff a shot. The cryo treatment removes all thermal and mechanical stresses within the rotor. With a more uniform metal structure, the rotor dissipates heat quickly, evenly and from past experience definitely enhances the life of the rotor. Definitely worth it. For more in depth reading on the cryogenic process you can goodle it :) or check this link out.


[URL]http://www.cryogenicsinternational.com/rotors.htm[/URL]


[URL="http://2.bp.blogspot.com/-OQLTDteaomI/T-ilFDO-ZAI/AAAAAAAAAoU/2diJVsmNOF8/s640/IMG_1109.JPG"][IMG]http://2.bp.blogspot.com/-OQLTDteaomI/T-ilFDO-ZAI/AAAAAAAAAoU/2diJVsmNOF8/s640/IMG_1109.JPG[/IMG][/URL]


I also chose to go with the StopTech stainless steel lines which also has Teflon outer jackets. Previously I had Rotora lines but again Rotora doesn't make rotors or lines for the GS430.


StopTech Front SS lines - 950.44003
StopTech Rear  SS lines - 950.44504


[URL="http://1.bp.blogspot.com/-TMenPQre3bI/T_HOIRcNaRI/AAAAAAAAA0U/NAUP1nV_v2g/s640/20120702_123515.jpg"][IMG]http://1.bp.blogspot.com/-TMenPQre3bI/T_HOIRcNaRI/AAAAAAAAA0U/NAUP1nV_v2g/s640/20120702_123515.jpg[/IMG][/URL]


Updates on the install coming soon....


Write up: [URL="http://www.flawlessfitment.com/2012/09/2006-lexus-gs430-new-beginning.html"]Flawless Fitment[/URL]

UPDATE: 09/19/2012


With all my maintenance parts together and collecting dust, it was high time I started installing everything. Prior to installation I tried to clean out the engine, injectors etc as best I could. To achieve this I did it in steps and used a couple of products. First I used seafoam, 1/3rd in fuel tank, 1/3rd in crank case and 1/3rd through a vacuum source to the intake. Drove for about a 100miles or so and in another half tank of gas added some Amsoil Performance Improver. Drained and filled oil using some regular shell oil and added some more seafoam in crank case. After another 100 miles pulled it in for all the maintenance work.


Have known the guys at Turbo Time in Cary, NC for years and they were kind enough to let me use their facility to do all my maintenance work. Which with the weather we chose to do at night, even though their facility is air conditioned. Matthew Meadows offered to help me with this endeavor. When I mean help, I mean he ended up doing 70% of the work. LOL. It is an absolute pleasure to work with someone as picky as I am so everything went fairly smoothly. After running through a plan of action with Matt we got down to it.


[IMG]http://3.bp.blogspot.com/-aMzUJaYJuKI/UA-esLocXjI/AAAAAAAAA1g/jzhYB8fSwKk/s640/IMG_3071.JPG[/IMG]


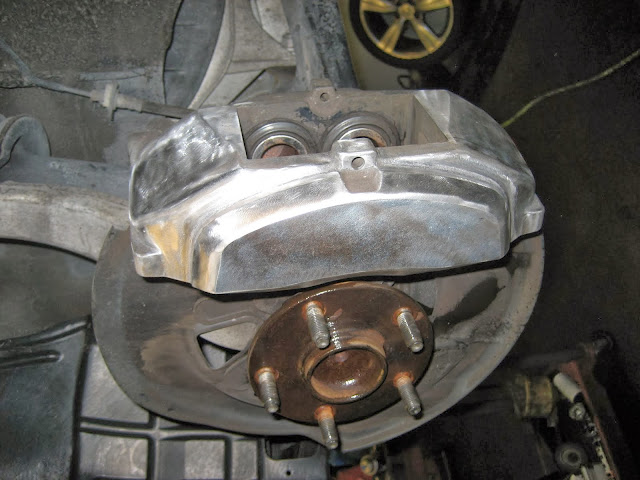
Tore out the valve covers, cam caps, throttle body etc to start changing gaskets, seals etc. While all the parts were out I wanted to accent the engine bay and make that part of the car look good as well. Had a vision in mind when I was doing this so hopefully it turns out as well as I picture it when I complete it. All the parts were media blasted and put through a parts cleaner, ready for paint. I used a high temp Gold and put a couple of coats of clear over it for some depth.


[IMG]http://2.bp.blogspot.com/-WHr978JCq4w/UA-et92HGBI/AAAAAAAAA1w/rvhjTxdhksw/s640/IMG_3073.JPG[/IMG]


[IMG]http://4.bp.blogspot.com/-jLRA6iCtzAc/UA-eukrFXnI/AAAAAAAAA14/g9KMEf5qhgI/s640/IMG_3074.JPG[/IMG]


[IMG]http://4.bp.blogspot.com/-FIjMiL31a9o/UA-e2v2y7gI/AAAAAAAAA3A/27SeJgHxql0/s640/IMG_3085.JPG[/IMG]


[IMG]http://1.bp.blogspot.com/-_Nz5n4_iqyU/UA-e2FCbN0I/AAAAAAAAA24/OPnqLQrnt7M/s640/IMG_3084.JPG[/IMG]


The throttle body was pulled out and was thoroughly cleaned out as well.


[IMG]http://4.bp.blogspot.com/-q_A4bJZ40Fg/UA-e4UlrFCI/AAAAAAAAA3Q/tEO_coHIvEo/s640/IMG_3087.JPG[/IMG]


The spark plug gaskets were replaced as well from the valve cover.


[IMG]http://3.bp.blogspot.com/-UmkYSG_FaxU/UA-fANzWmqI/AAAAAAAAA4A/gWvz2tyd_aU/s640/IMG_3094.JPG[/IMG]